User manual for the WHMCS Domain Management Tool
Version 2.2.0 - 28/07/2021
MrDomain
This is the user manual for the MrDomain's Management Addon for WHMCS.
This software adds new capabilities to the WHMCS administration panel using the MrDomain's API, including:
The MrDomain's Domain Management Addon for WHMCS uses the MrDomain's API. You need to have a working API account.
To activate the module you will need an API USername and API Password that you should have obtained from MrDomain's support team. For more information about the MrDomain's API, visit the online documentation.
This addon allows to perform the following actions:
The addon will also add a hook to WHMCS to update regularly prices and send notifications. You can learn more about WHMCS hooks on their documentation section.
WHMCS is a registered trademark of WHMCS Ltd.. MrDomain isn't part or is otherwise affialiated to WHMCS Ltd.. You can get more information on WHMCS Software on its official website.
You will find the installation steps, update and configuration for this Addon at the installation section
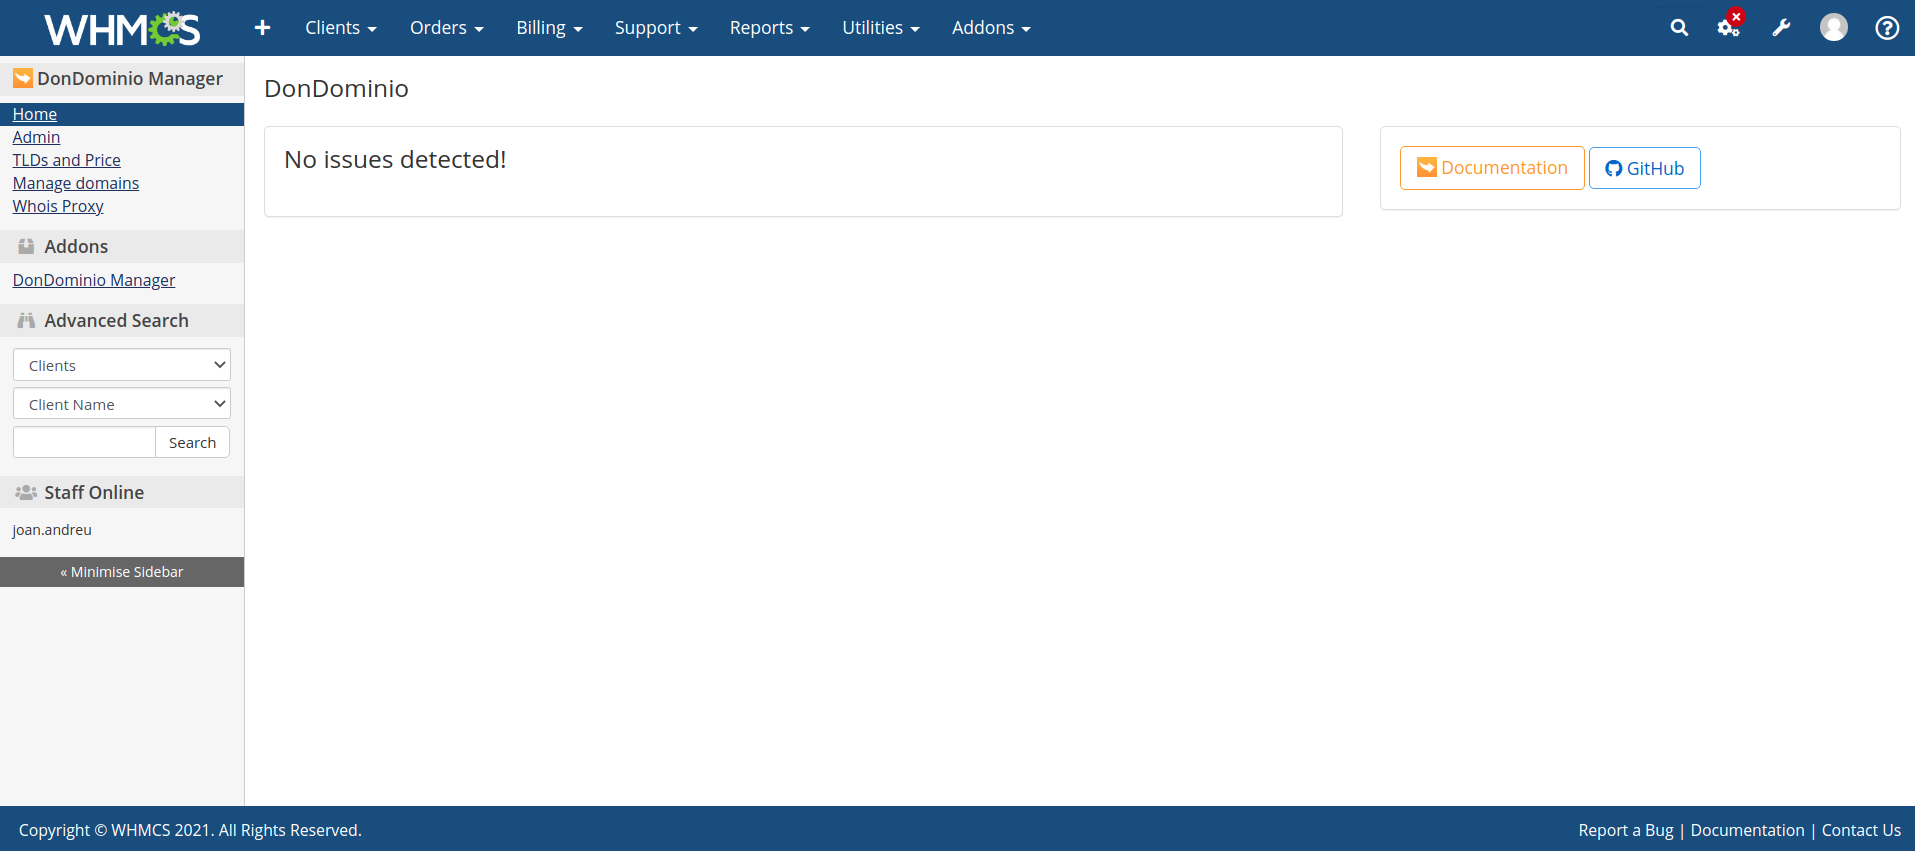
This is the home page that we access when entering the MrDomain Module.
The purpose of this section is to report if there have been problems related to the Module and to provide the links to consult the documentation of the Module and its repository on GitHub.
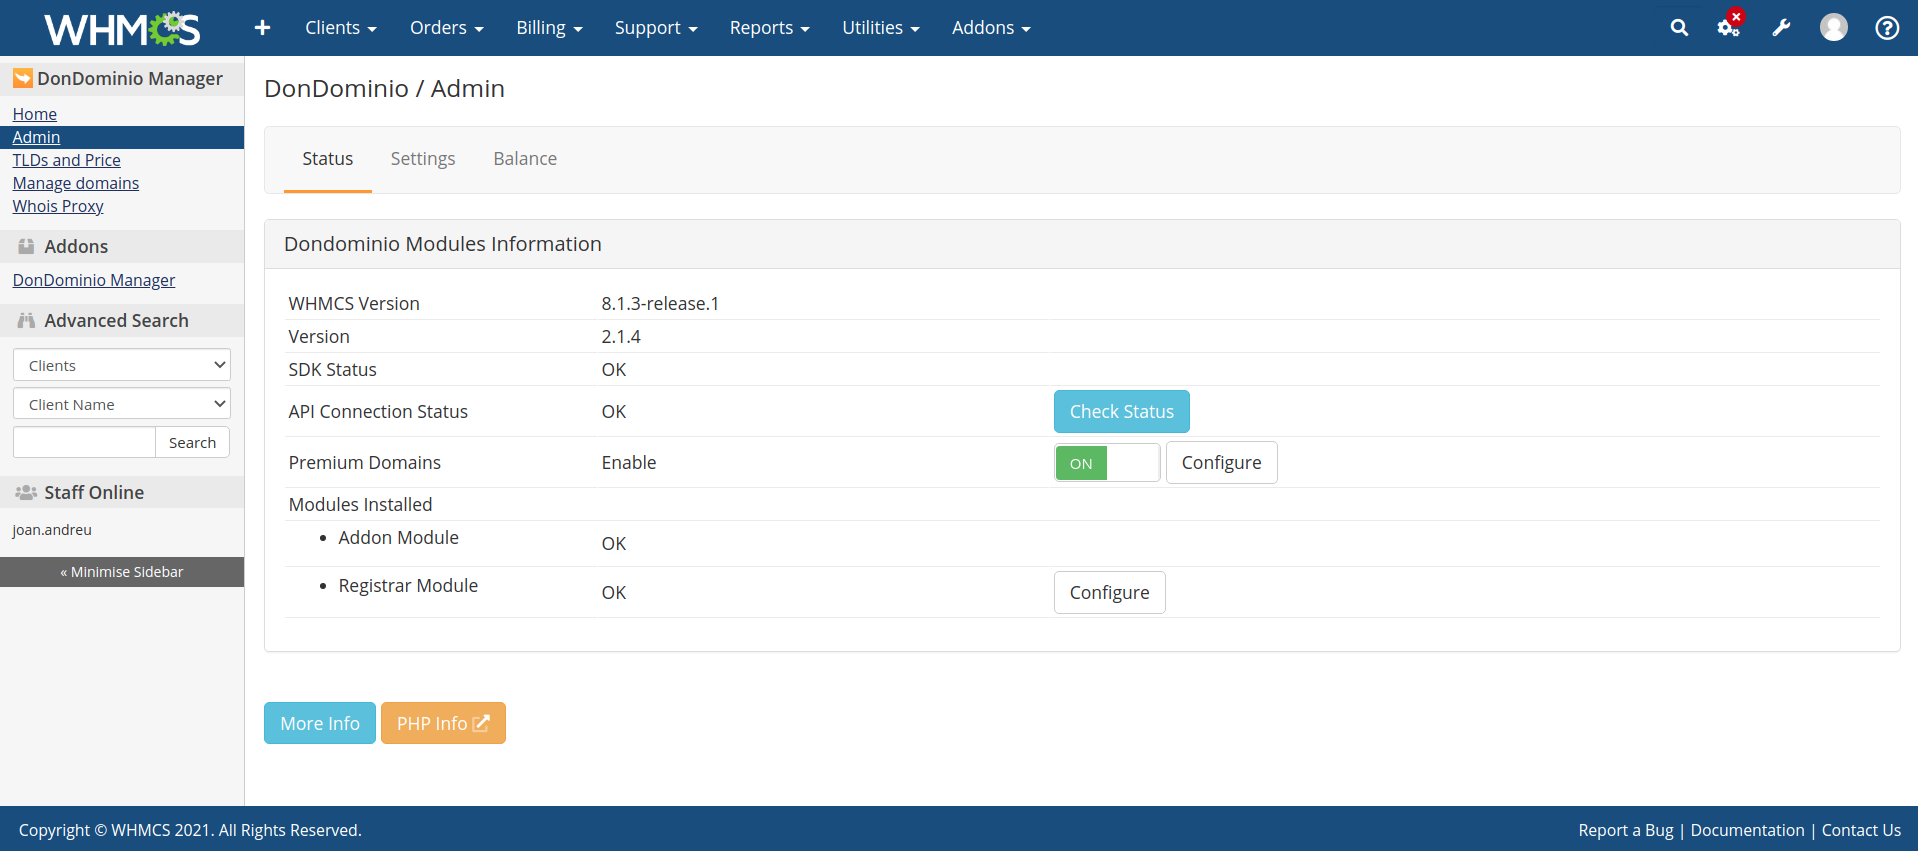
The Status module can be found in the Admin section Admin > Status and is intended to report on the status and information of the various components relevant to the operation of the Registrar and Addon of MrDomain.
The information provided is: the WHMCS version, the version and status of the Modules, the status of the SDK, the status of the connection with the API and the status of the Premium Domains.
The following actions can also be performed: Check API status, configure Premium Domains, activate and configure Registrar.
The More Info and PHP Info buttons show more information about the system configuration.
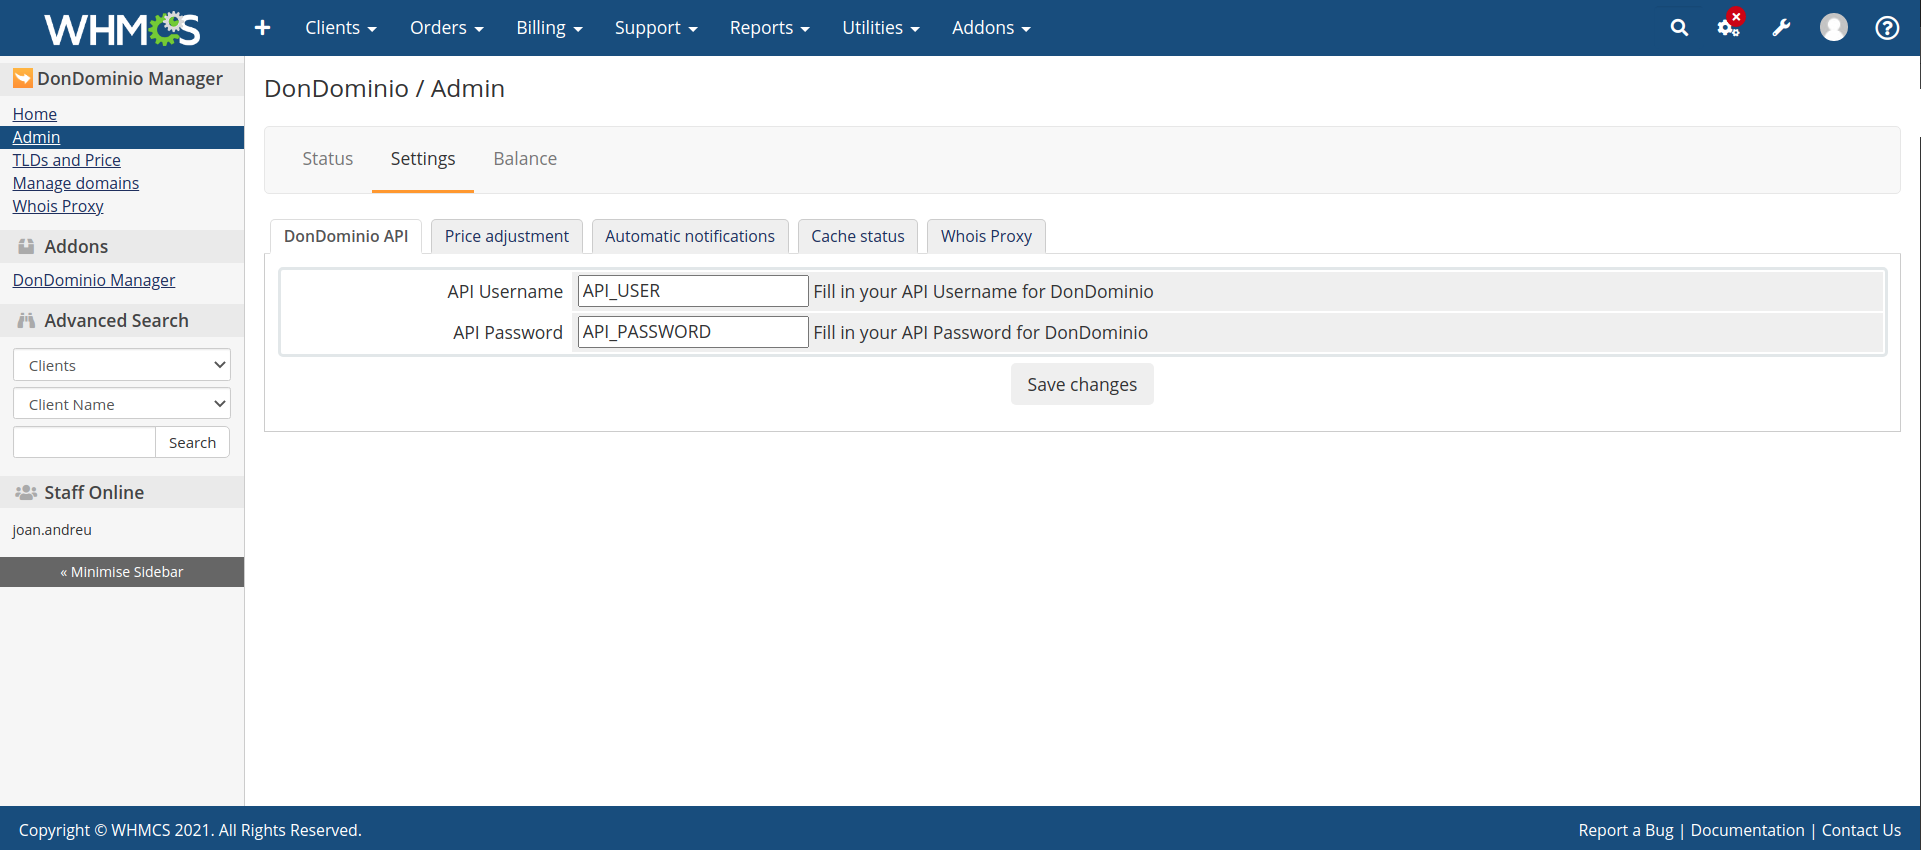
The Settings module is located within the Admin section Admin > Settings and allows you to configure behaviours and functionalities from the addon.
The settings are divided under tabs for easier use.
| Field | Values | Description |
|---|---|---|
| API Username | Text | Your API Username |
| API Password | Text | Your API Password |
| Field | Values | Description |
|---|---|---|
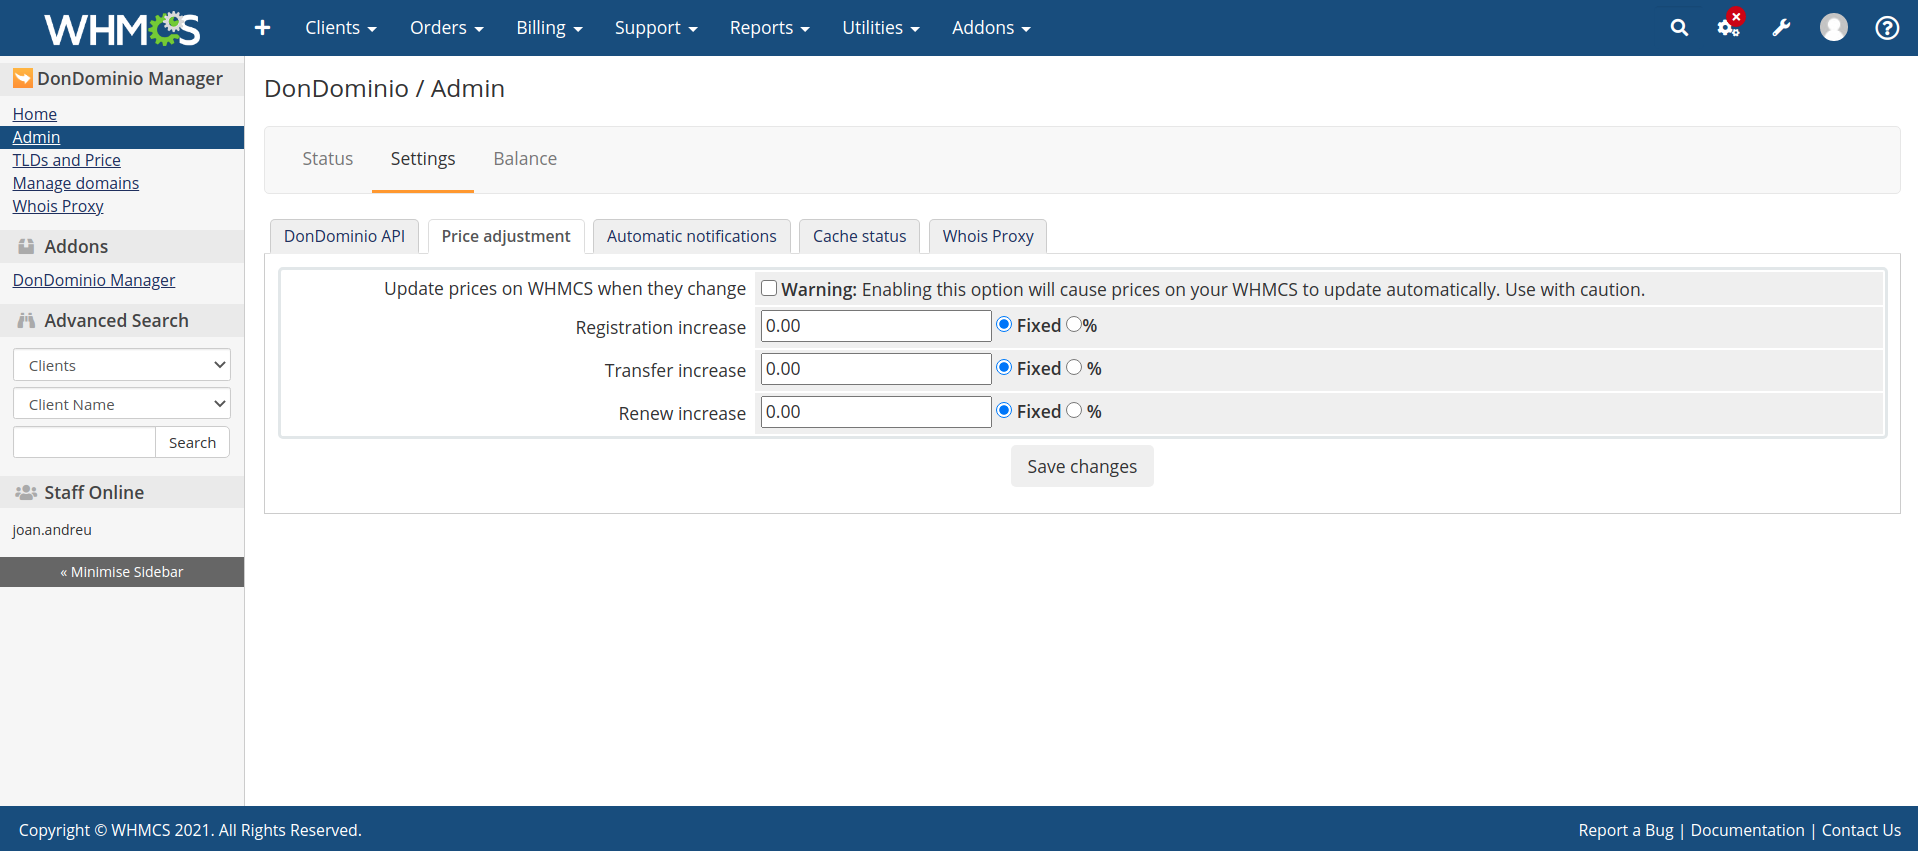
| Update prices in WHMCS when they change | Yes/No | When there's a price change in MrDomain, also update TLD prices in WHMCS. |
| Registration increase | Number | Quantity (fixed or %) to add to TLD prices when changing registration prices in WHMCS. |
| Transfer increase | Number | Quantity (fixed or %) to add to TLD prices when changing transfer prices in WHMCS. |
| Renewal increase | Number | Quantity (fixed or %) to add to TLD prices when changing renewal prices in WHMCS. |
| Field | Values | Description |
|---|---|---|
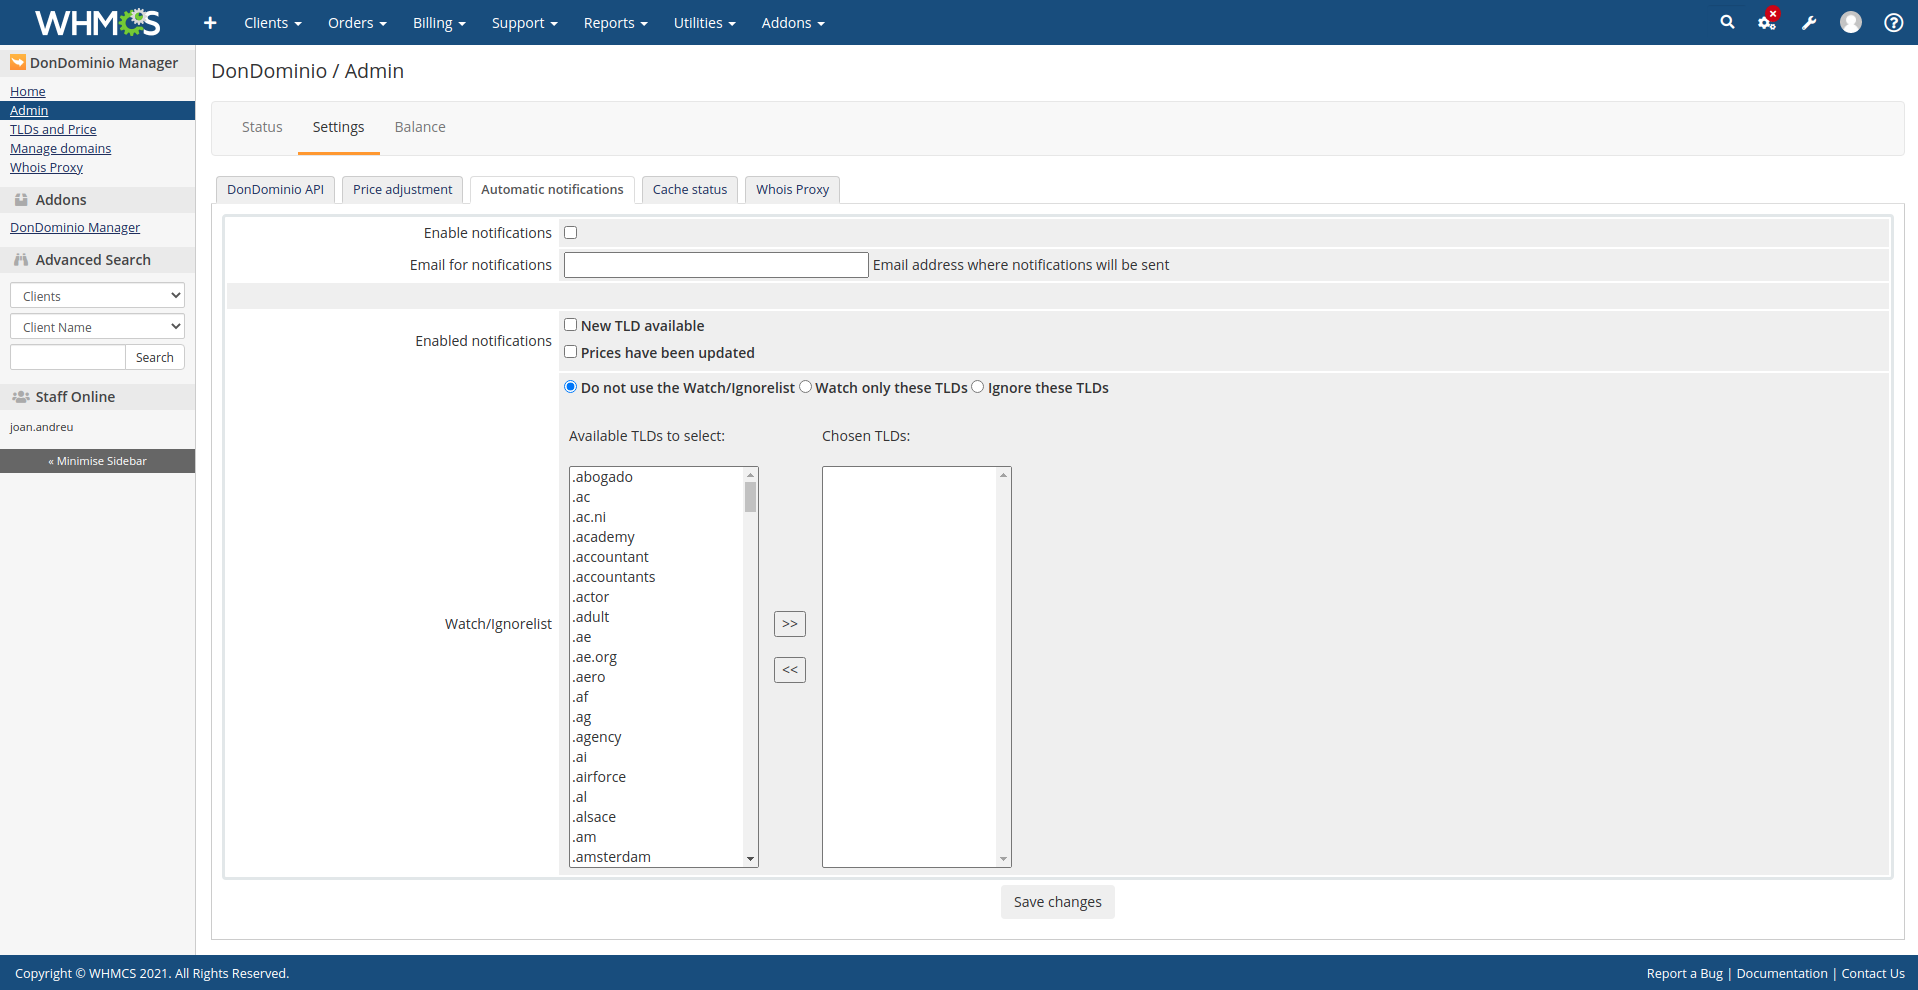
| Enable notifications | Yes/No | Enable or disable notfications on the module globally |
| Email for notifications | The Email address that will receive the notifications. If left blank, no notifications will be sent. | |
| Enabled notifications | N/A | The multiple kinds of notifications available. Enable the ones you want to receive notifications for. |
| Watch/Ignorelist | N/A | Watch/Ignorelist feature. |
To use the Watch/Ignorelist feature, first select one of the available modes:
Then, select one or more TLDs from the left list (Available TLDs) and click
>> to move them to the right list (Selected TLDs). To remove a TLD from
the selected list, select it and click <<.
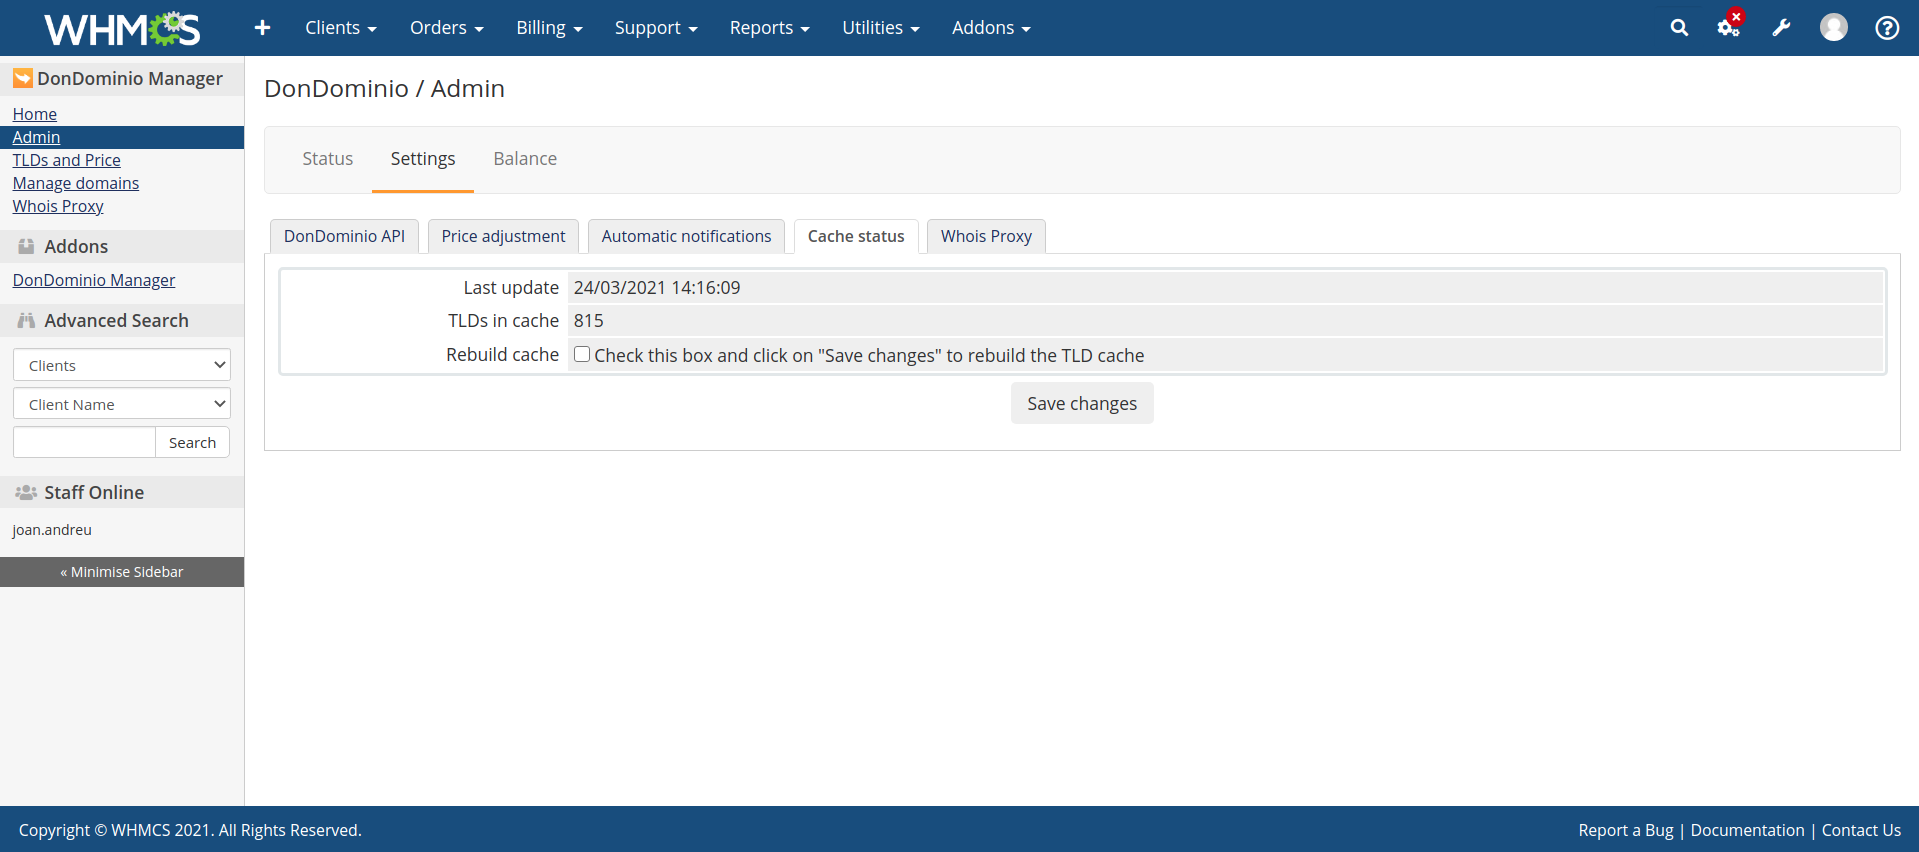
This addon stores some information on the local database (also known as cache). This screen displays information from the cache currently stored in the database.
Save changes to empty
the current cache and redownload all the prices from the MrDomain's API again.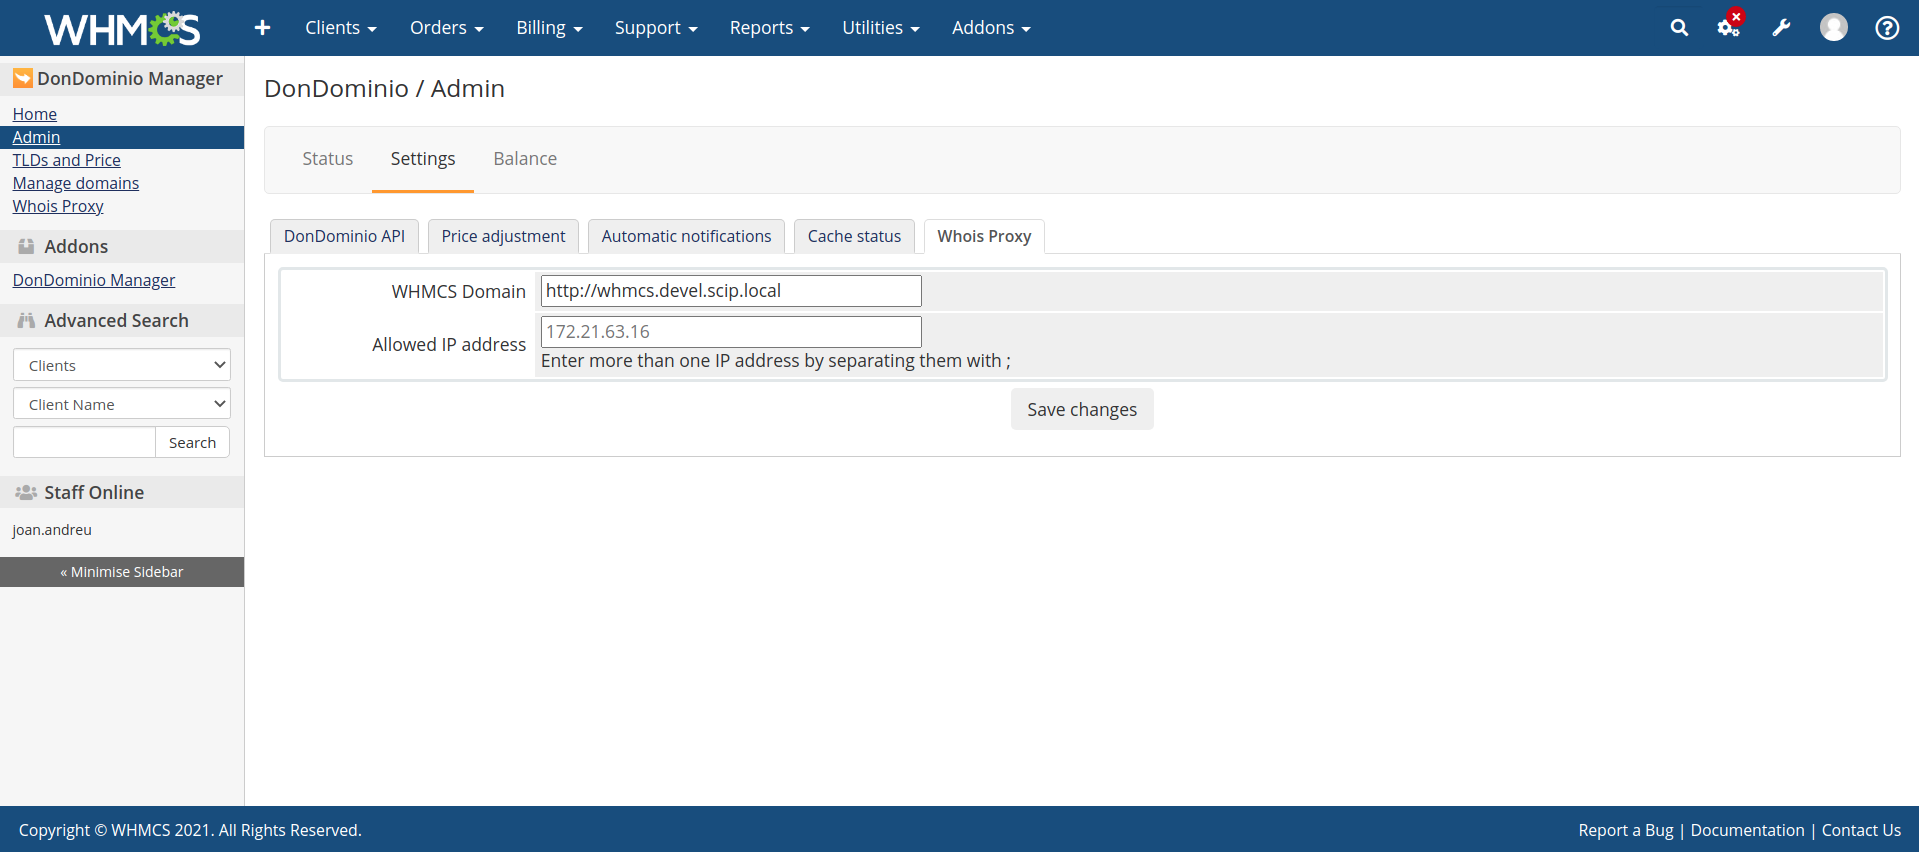
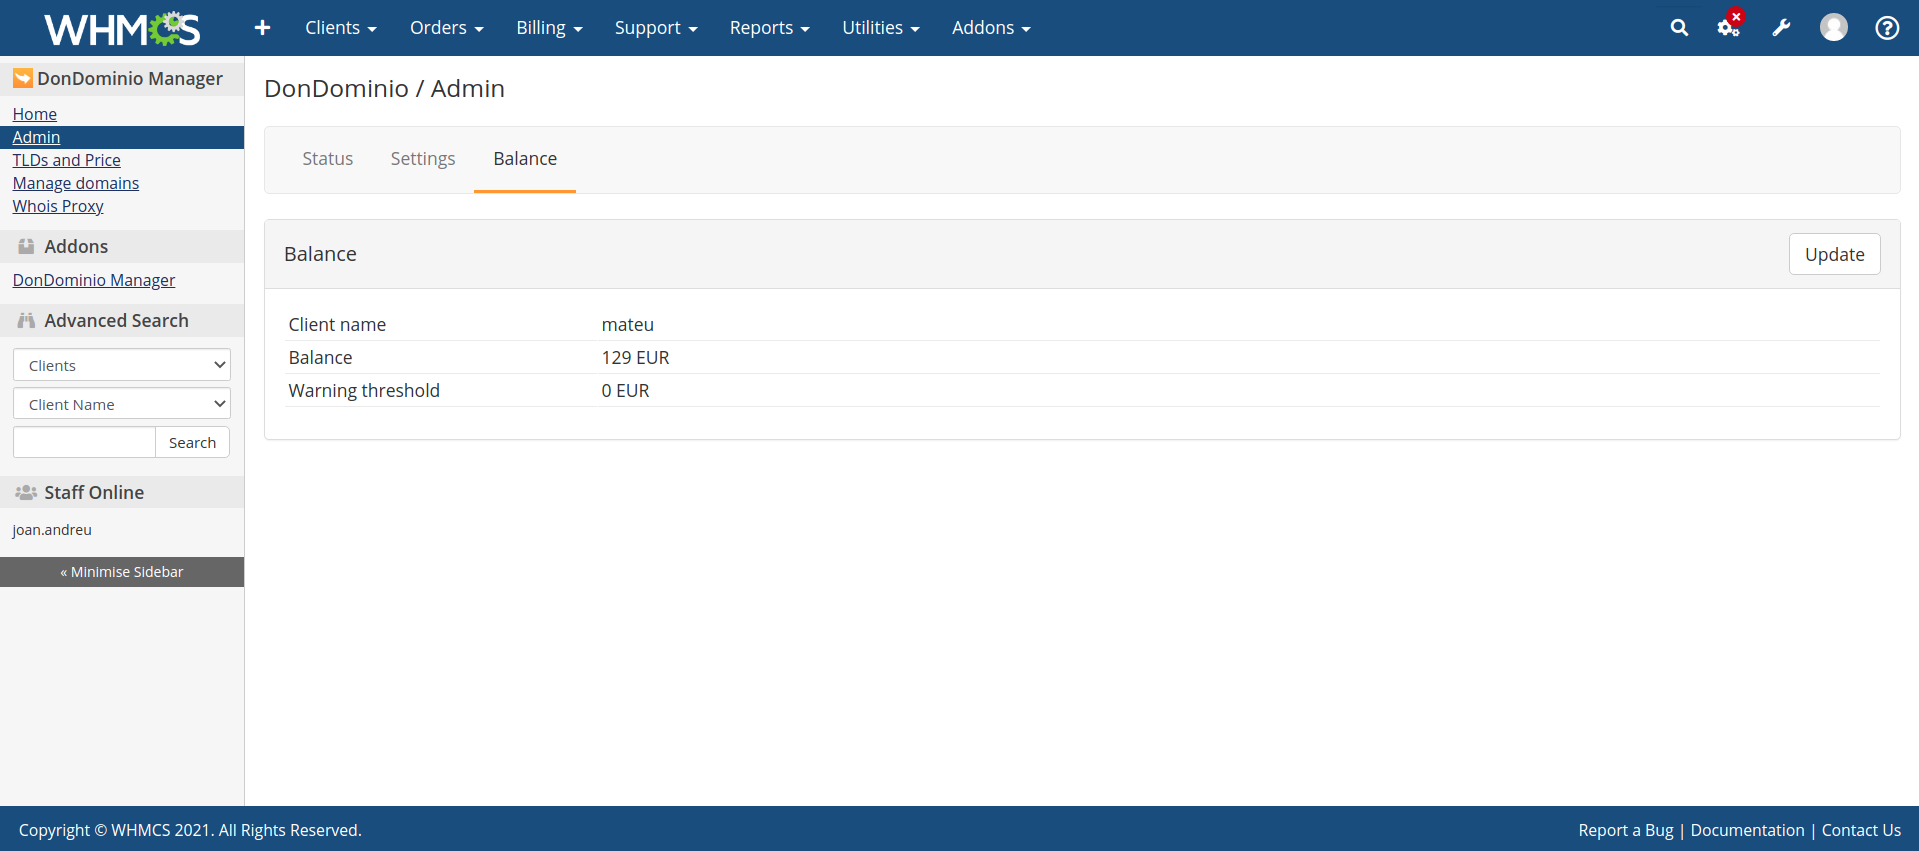
The Balance module is found in the administration section Admin > Balance and has the purpose of informing about the remaining balance in the configured API user and the warning threshold.
The Price update module is located within the TLDs and Price section TLDs and Price > Import and allows you to update the prices for your TLDs using the information available on MrDomain's API.
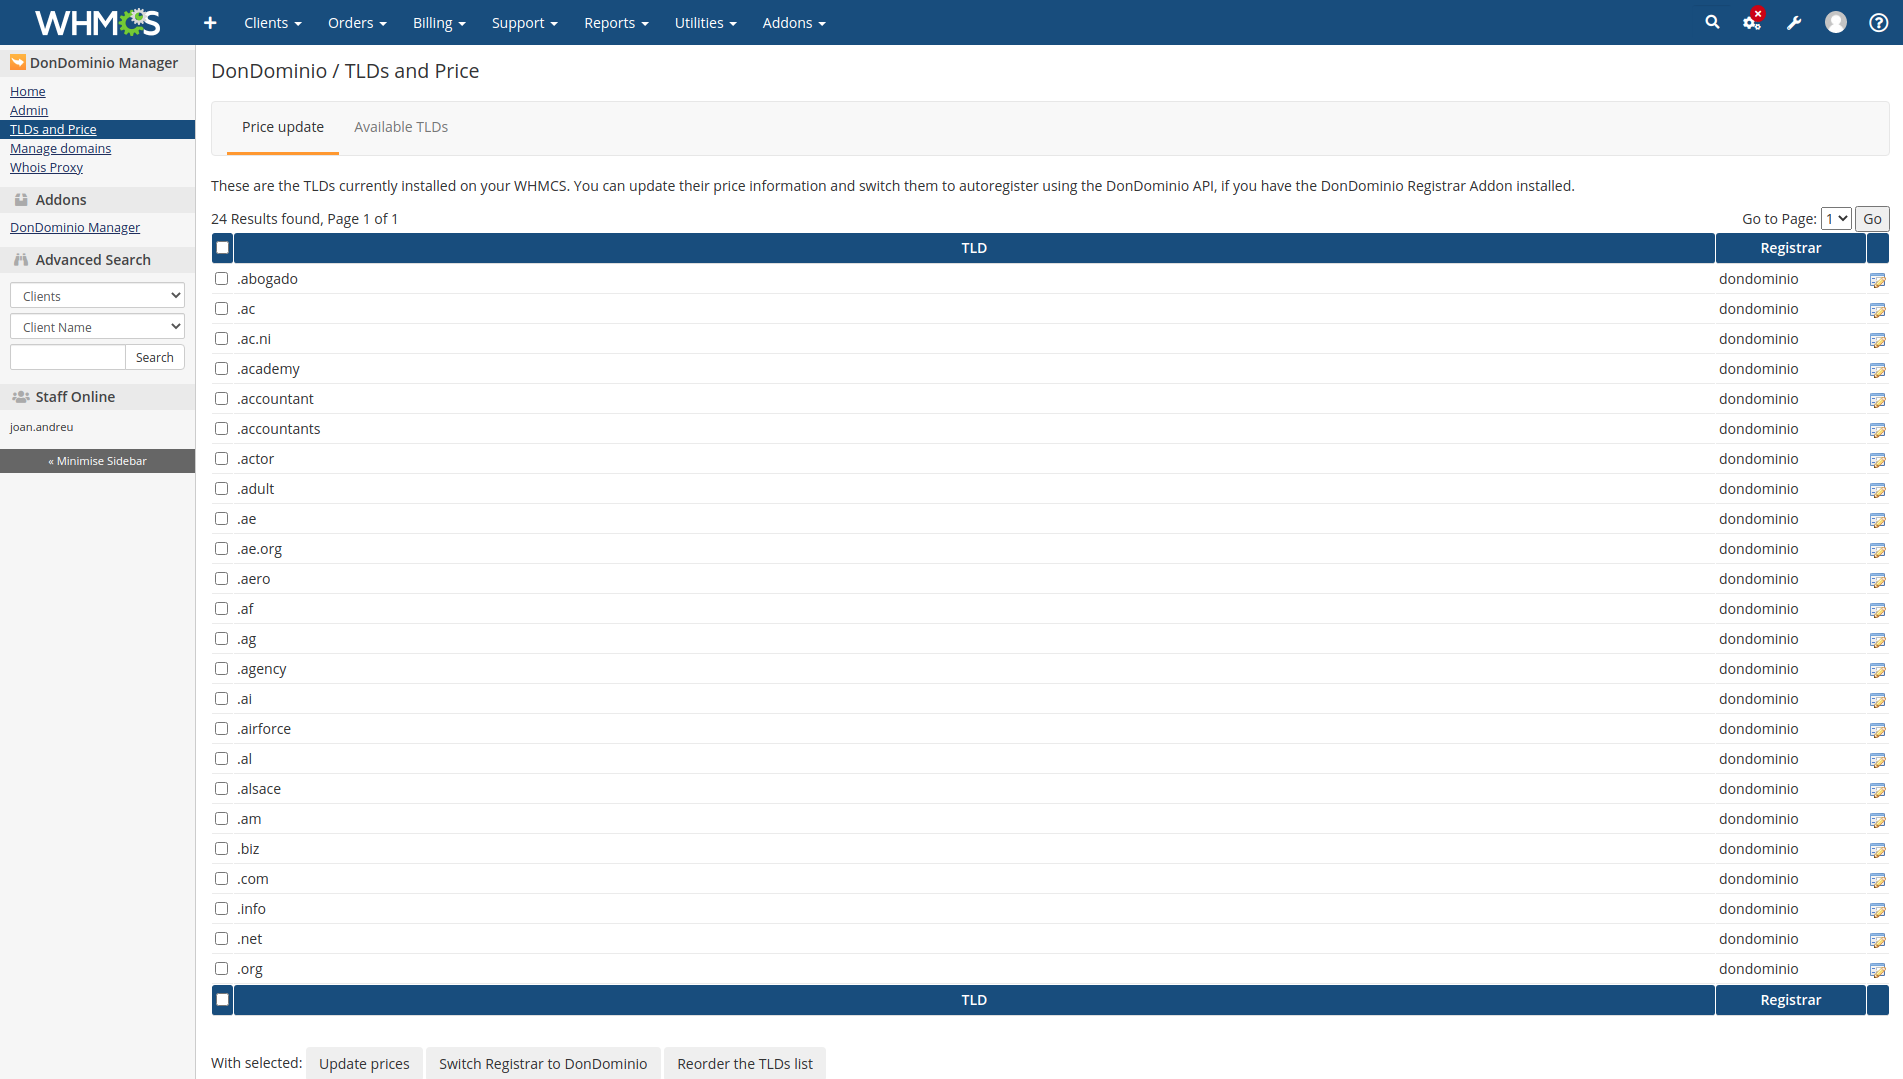
Heads up In order to update prices, the TLDs must be configured to use MrDomain as registrar. See the Change registrar function in this same module for more information, and the WHMCS Registrar Module documentation for more information.
To use the Price update function, first select all the TLDs you want to
update and then click on Update prices. The addon will apply to all selected
TLDs the latest prices downloaded from the MrDomain's API, taking into account
price increases defined in the Settings.
In order to manage a TLD using this addon, it must be configured to work with
the WHMCS Registrar Module from MrDomain. Select all the
TLDs you want to use with this module and click Change registrar to
DonDominio. They will be automatically configured to use the module from
that moment.
Heads up Any other registrar module you were using with those TLDs (if applicable) will be disabled for all those TLDs.
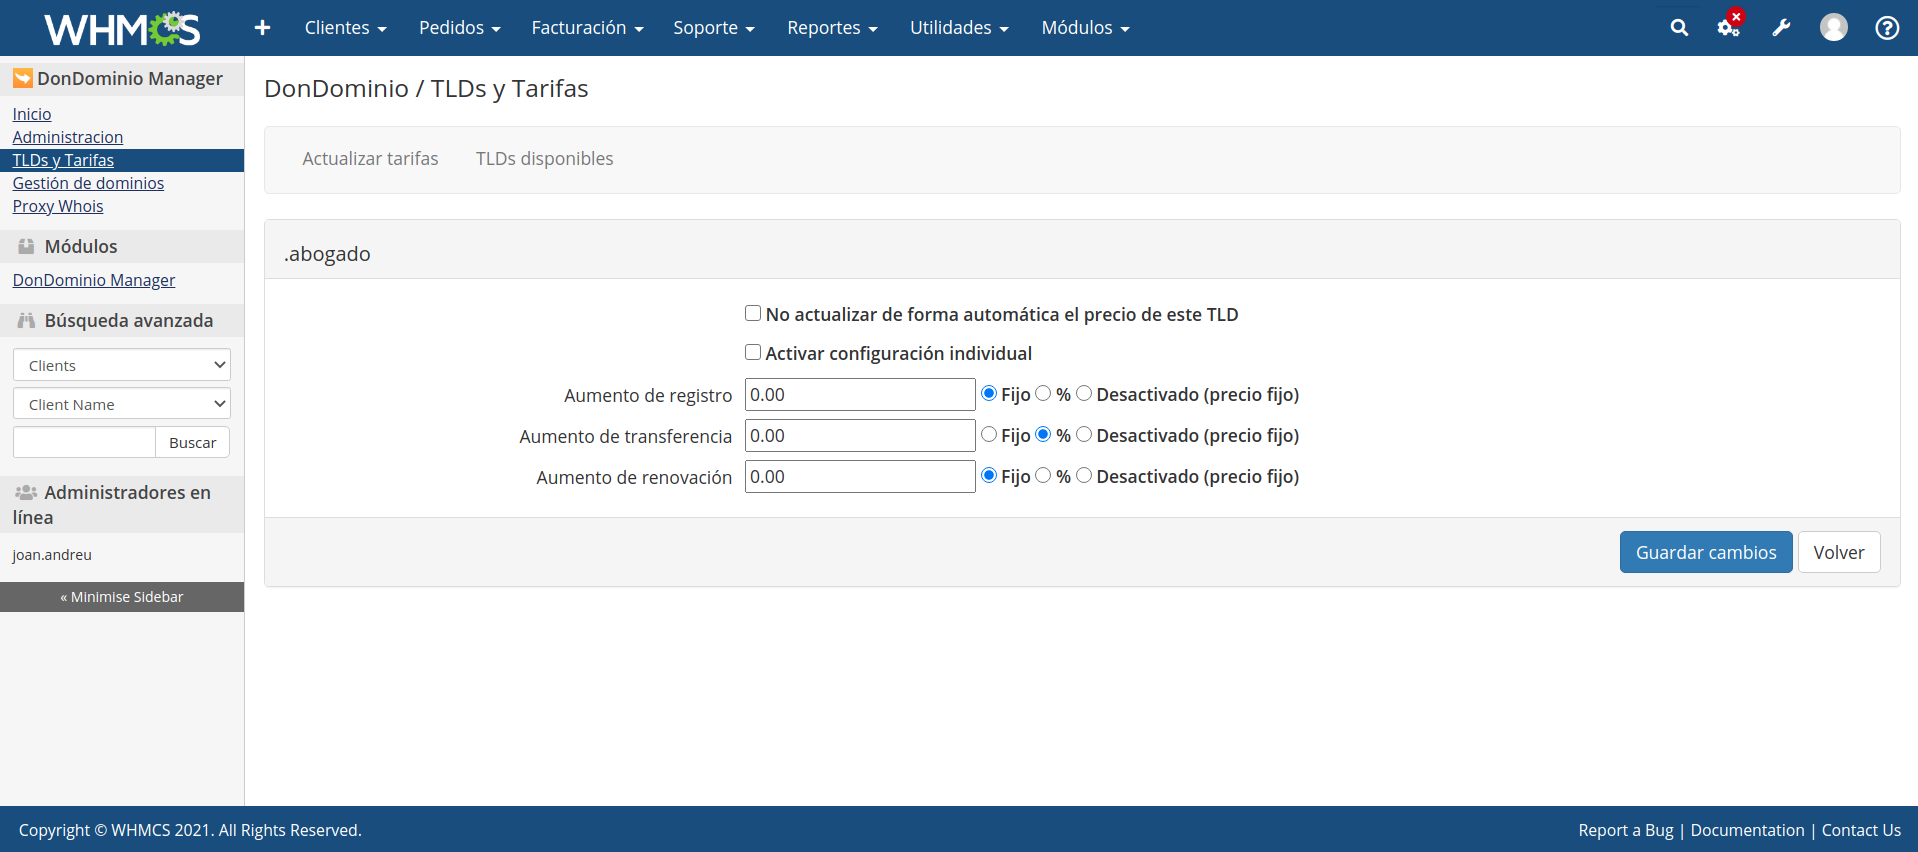
You can manually adjust prices for TLDs instead of using the API prices in
conjunction with the price modifications defined on the
Settings screen. Click on the ![]() icon to access the manual prices screen.
icon to access the manual prices screen.
On this new screen, you'll find the following options:
Do not update prices automatically for this TLD Enable this option to make the automatic price adjustment tool ignore this TLD.
**Enable individual settings* Enable this option to manually adjust prices for this TLD instead of using the regular system.
Register increase A registration price increase to be applied to the regular registration price for this TLD. The registration price is obtained via the MrDomain's API, and you can choose to apply it as a Fixed increase (adding this quantity to the price on MrDomain), as a % (adding a percent to the price on MrDomain), or rather Disable it and set the price directly as you entered it in this field (ignoring all other prices, increases, and so on).
Transfer increase and Renewal increase Both work like Register increase explained above, but for transfers and renewals, respectively.
To save the settings, click on Save changes.
When prices are updated for this TLD (automatically or manually) the settings entered in this screen will take effect.
The Available TLDs module can be found in the TLDs and Price section TLDs and Price > Available TLDs and allows you to create new TLDs supported by the MrDomain's API but not yet created in WHMCS.
When creating a new TLD, the most recent prices obtained from MrDomain's API will be used, and the WHMCS Registrar Module from MrDomain will be automatically enabled for it.
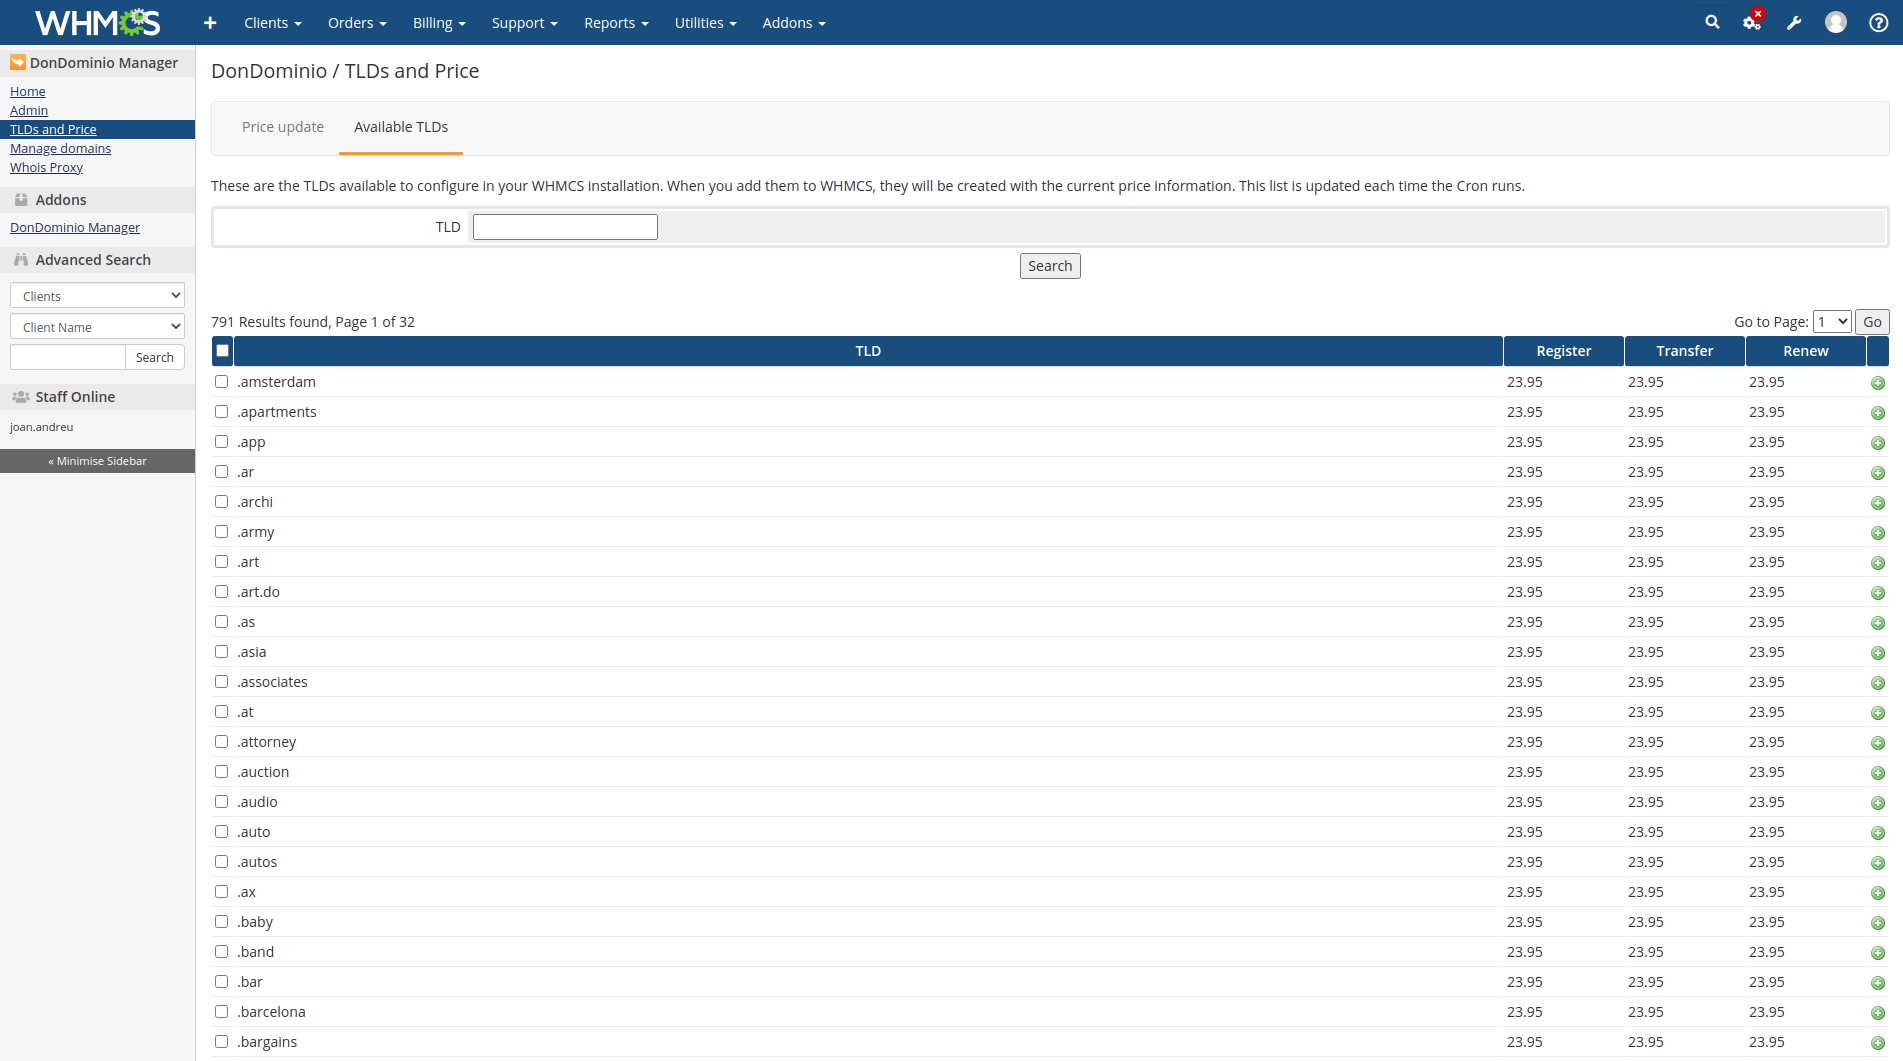
This module has filters to search for TLDs in the list, you can filter by all or part of a TLD to filter the list by it.
Select one or more TLDs you want to add to your WHMCS installation and click
on Add to WHMCS to create them automatically. The new TLDs will have the
latest prices obtained from the MrDomain's API and will be configured to use
the WHMCS Registrar Module from MrDomain.
Once added, the TLDs will be available to your customers to select them and register and transfer domains.
Alternatively, you can click on the ![]() icon to
add that specific TLD.
icon to
add that specific TLD.
The Management module is located within the Manage domains section Manage domains > Manage and allows us to check and update the information of the existing domains in your WHMCS installation. It will also allow
you to configure those domains to use the WHMCS Registrar Module from
MrDomain.
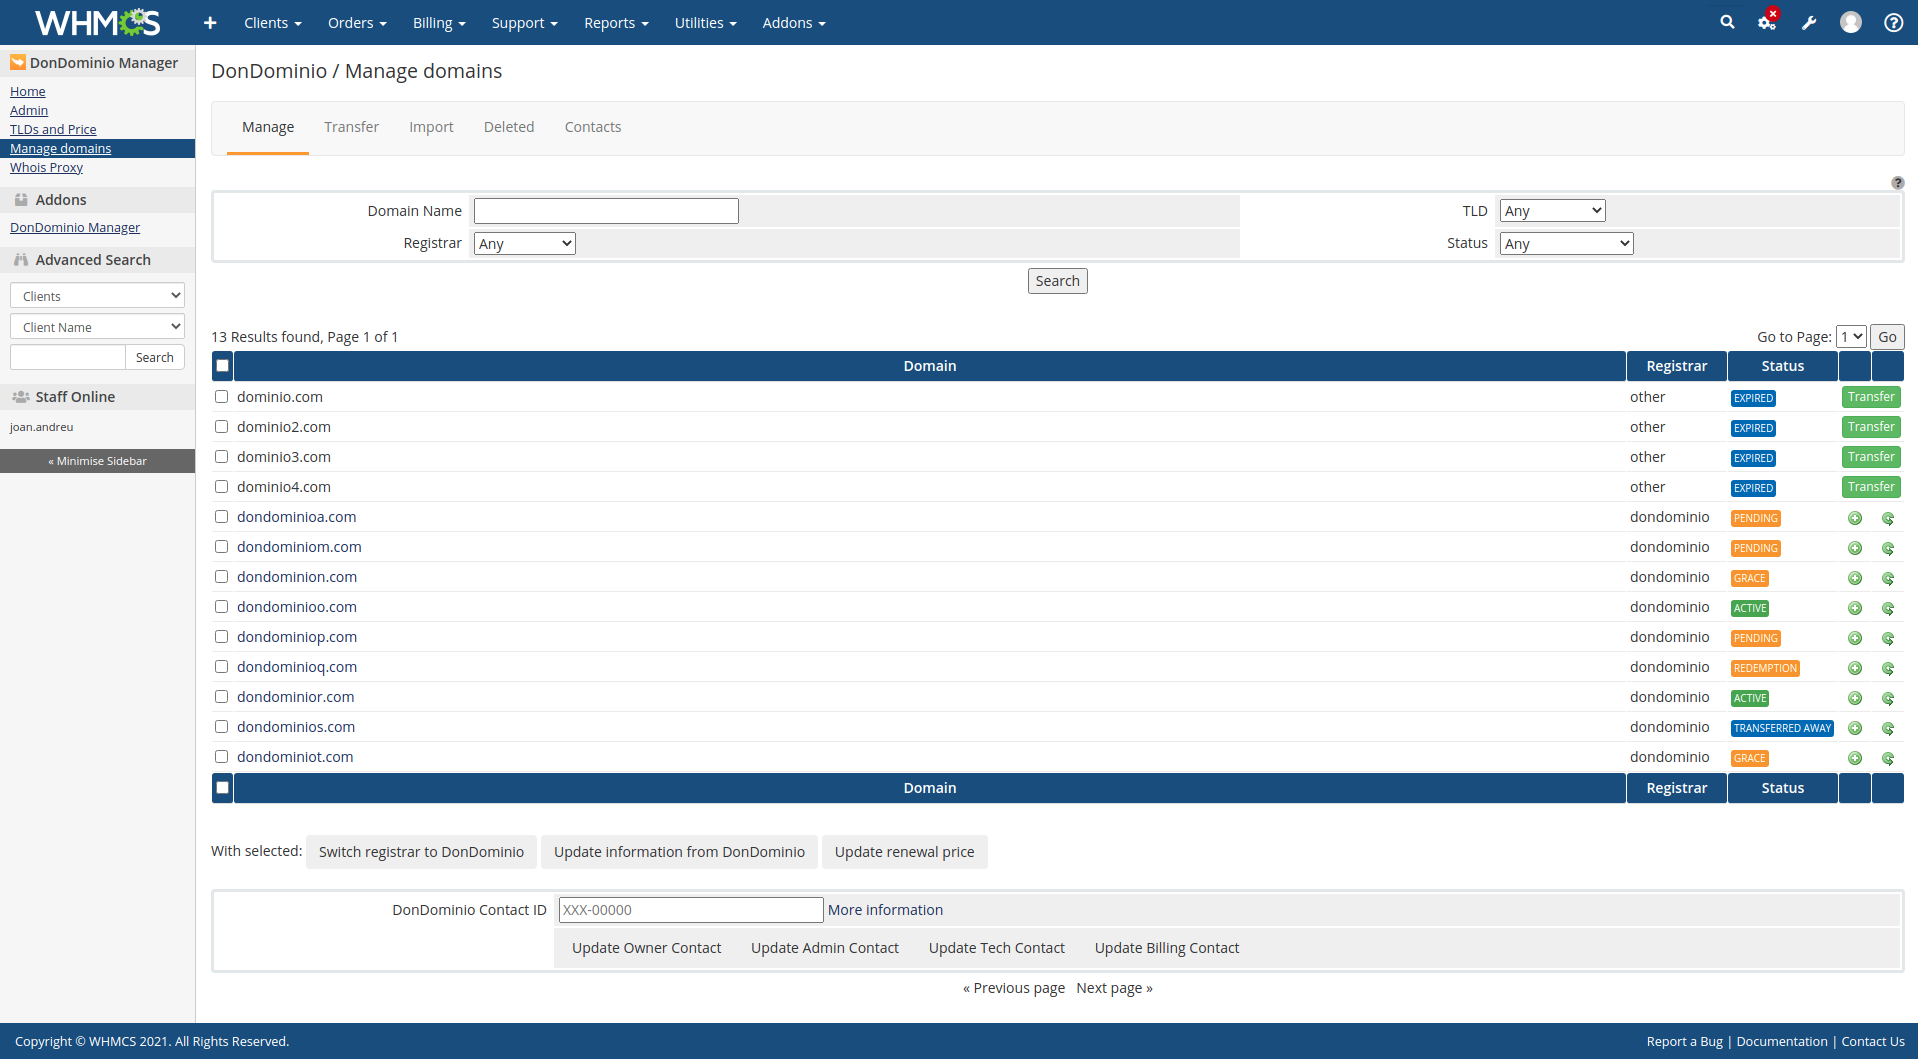
This module has filters to search for domains in the list, it allows us to filter by the following fields: Domain name, TLD, Registrar and State.
Select one or more domains from the list and click on Switch registrar to
DonDominio to configure those domains to use the WHMCS Registrar Module from
MrDomain.
Heads up
In order for the addon to be able to update the information of a domain it must be first configured to use the WHMCS Registrar Module fromMrDomain.
Select one or more domains from the list and click on Update information from
DonDominio to update the domain information according to the information
available through the MrDomain's API. The information updated will be the
domain status and its expiration date.
Alternatively, you can click on the ![]() icon to update that domain's information.
icon to update that domain's information.
You can perform contacts mass changes from this screen using a MrDomain Contact ID.
MrDomain Contact IDs The MrDomain Contact IDs are special codes that identify domain contacts inside MrDomain accounts. They are something similar to
AAA-00000and you can find them on the MrDomain administration panel.To see your Contact IDs, go to your MrDomain administration panel on https://www.mrdomain.com/en and then click on
Adminat the top left, then onToolsand finally onContacts. On the list that will appear, you will find each Contact ID under the column Contact ID. This is the code that you need to write on the corresponding field.
Select one or more domains that you want to modify, write the Contact ID in
the DonDominio Contact ID field and then click on one of the following
buttons:
Update owner contact: This will update the owner contact for the domains
using the Contact ID you provided.Update admin contact: This will update the admin contact for the domains
using the Contact ID you provided.Update tech contact: This will update the tech contact for the domains
using the Contact ID you provided.Update billing contact: This will update the billing contact for the
domains using the Contact ID you provided.Heads up This change may take several minutes when applied to a large amount of domains at once.
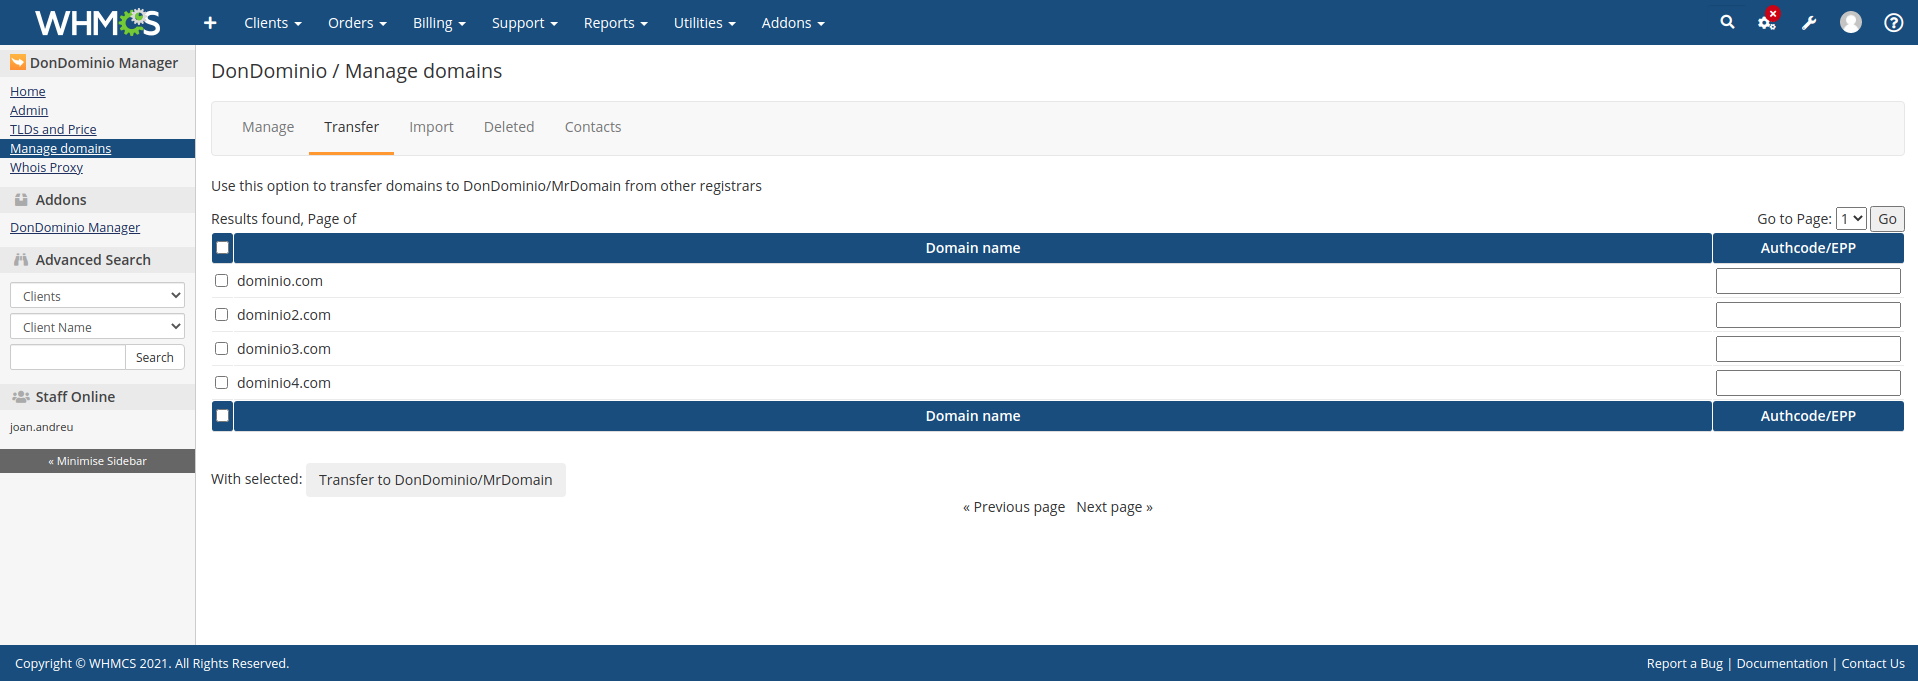
Through the Transfer button found in the domains that do not have MrDomain as a registrar, the domain can be transferred to MrDomain indicating the Authcode/EPP
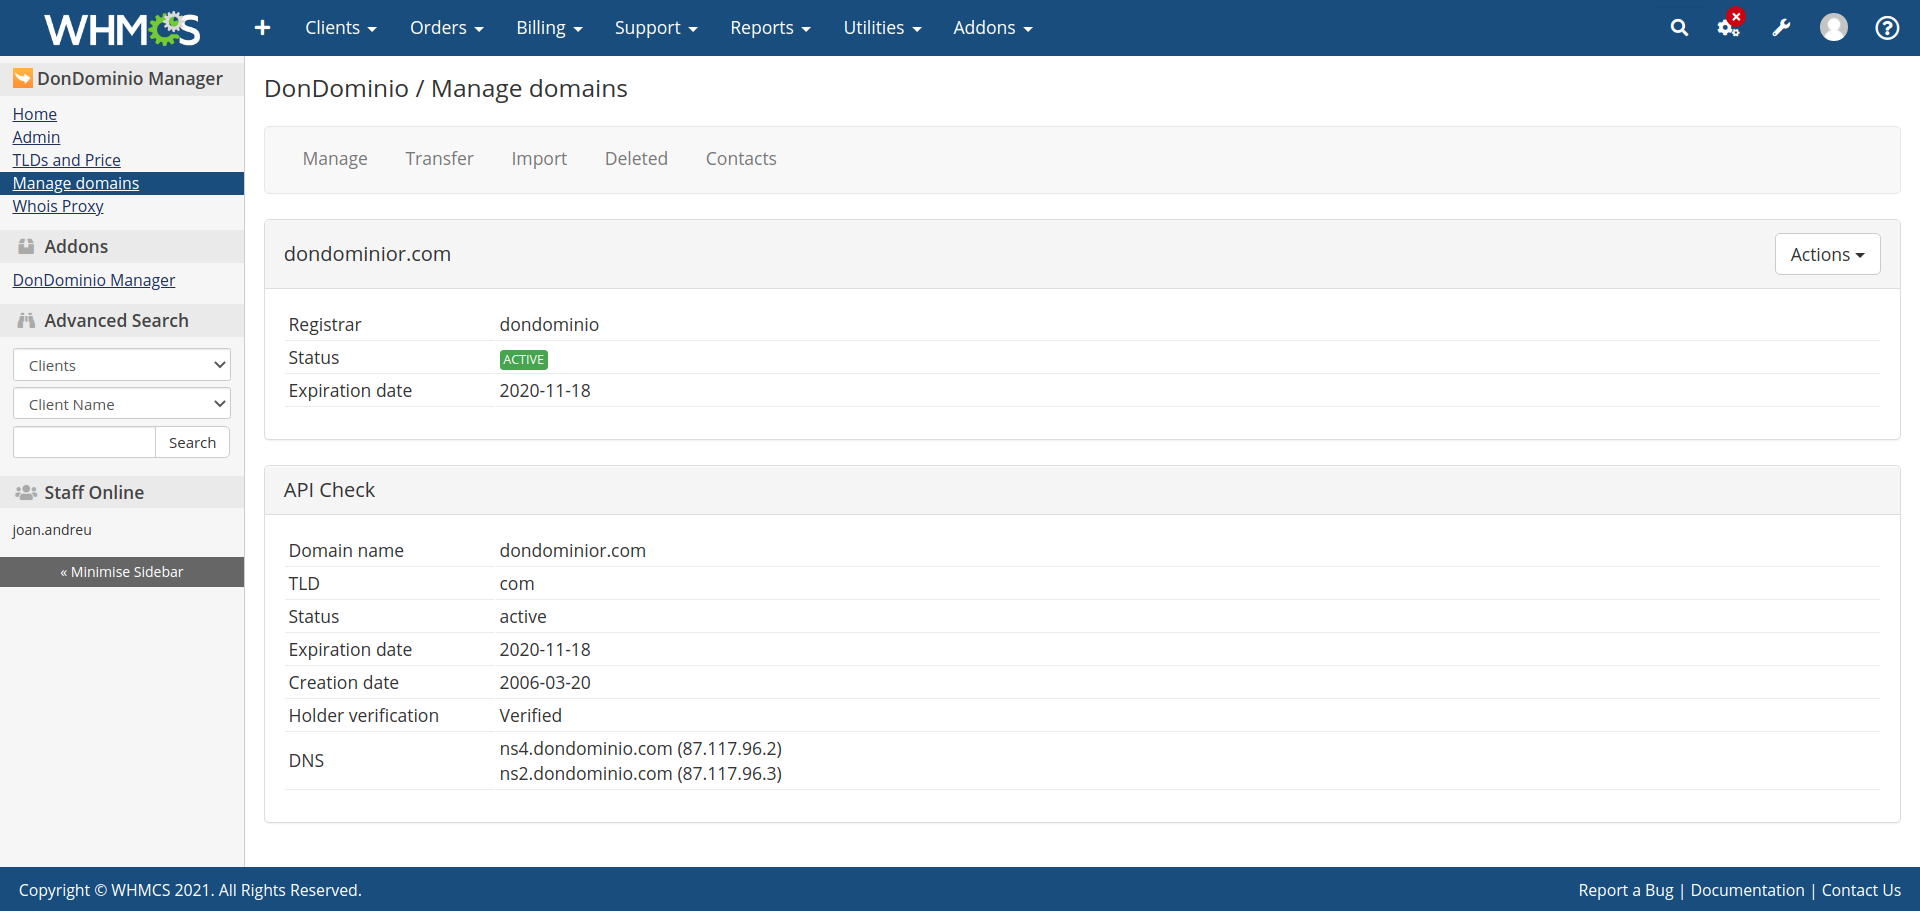
From the list of Domain Management you can access a specific domain, this view offers the possibility of synchronizing the status of the domain and consulting its information and history to the MrDomain API.
The Transfer module can be found in the Domain Management section Manage domain > Transfer and allows us to massively transfer domains to MrDomain.
The Import domains module is located within the Manage domains section Manage domains > Import and allows you to import existing domains on your MrDomain account to your WHMCS installation. The imported domains will be created using all the information available about them on the MrDomain's API and will be assigned to the customer of your choice.
Alert In order to import domains, a new order will be created with all the imported domains attached to it
At the right side of each domain you will find an status indicator.
NOT IMPORTED means that domain is not yet created on WHMCS, and IMPORTED
means that the domain already exists (and can't be imported again).
To update domain information for already imported domains, use the Domain Management screen.
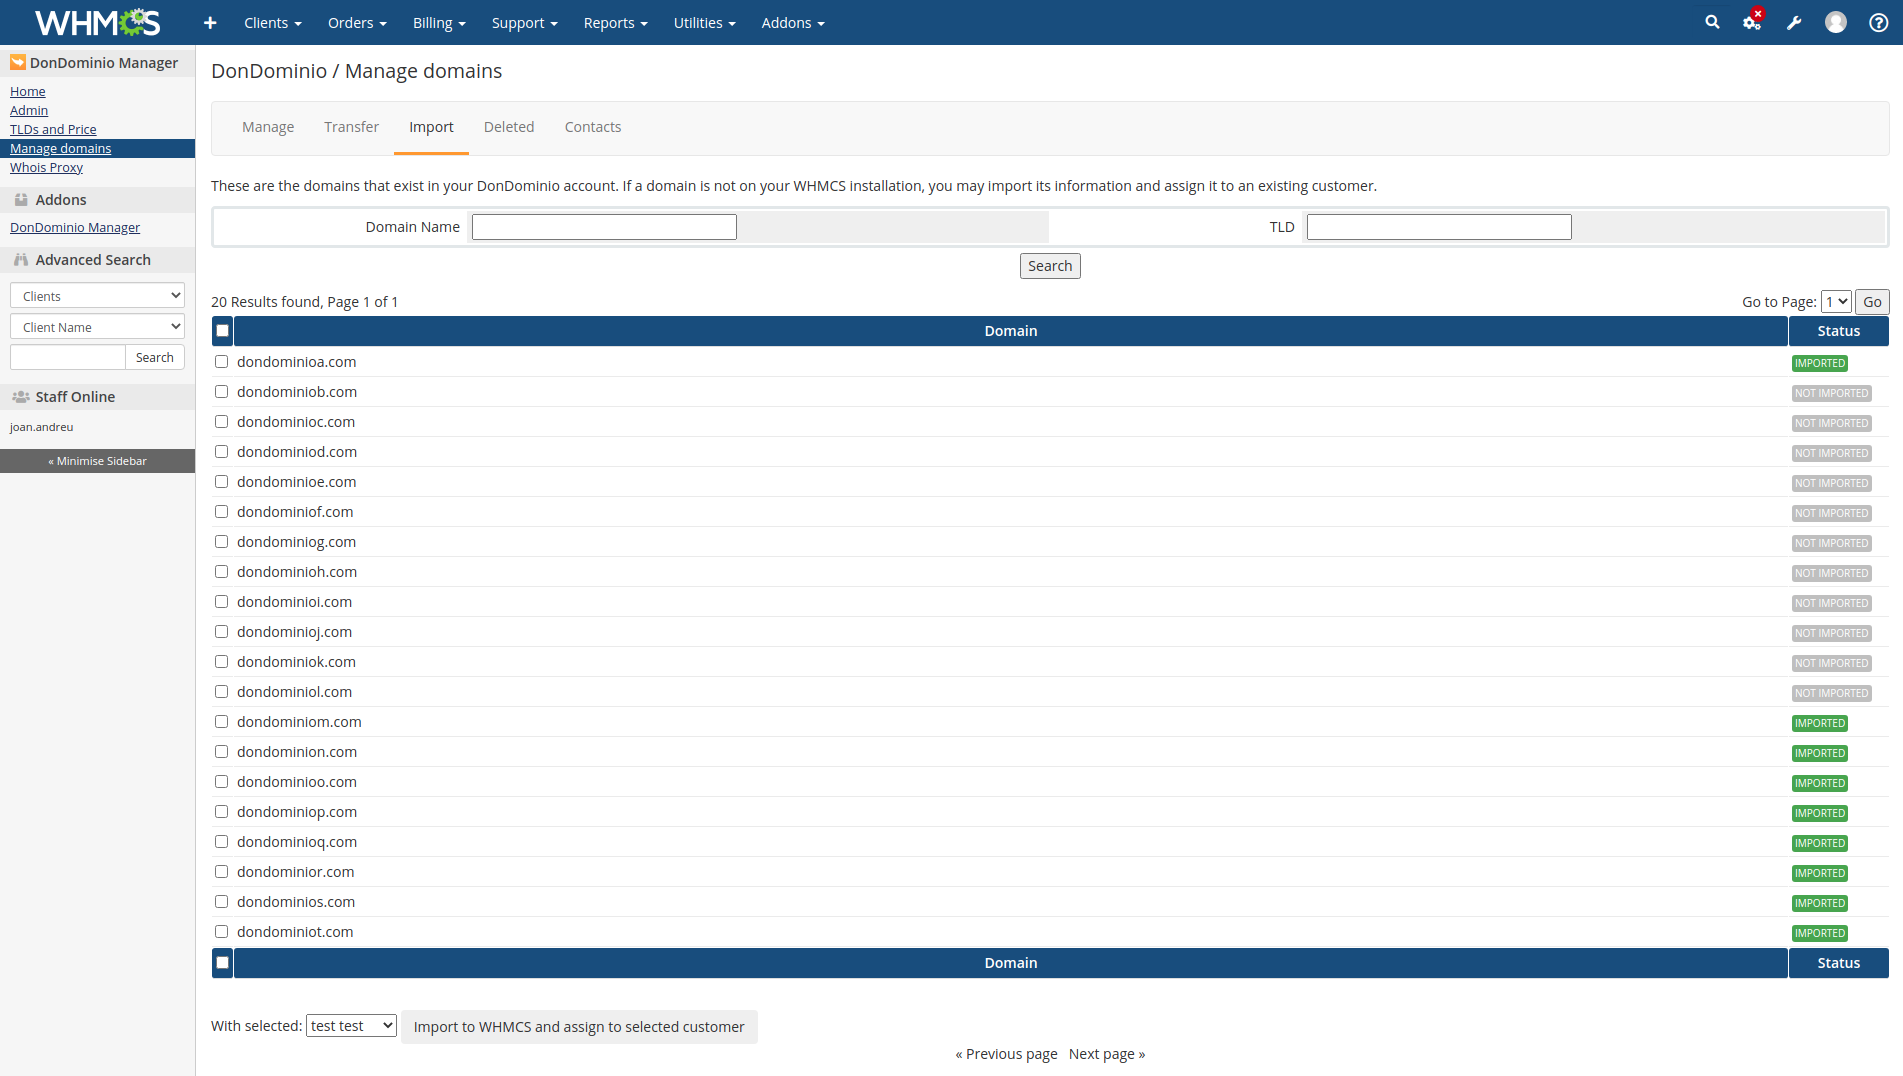
This module has filters to search for domains in the list, you can filter by: Domain name and TLD.
Select one or more domains from the list, choose a customer from the
dropbox and click the Import to WHMCS and assign to selected customer button.
The domains will be copied to your WHMCS database and assigned to that
customer as it was registered normally.
Select domains that are already imported will be ignored.
The Deleted module is found in the Domain Management section Manage domains > Deleted and allows us to list all the deleted domains of the configured API user.
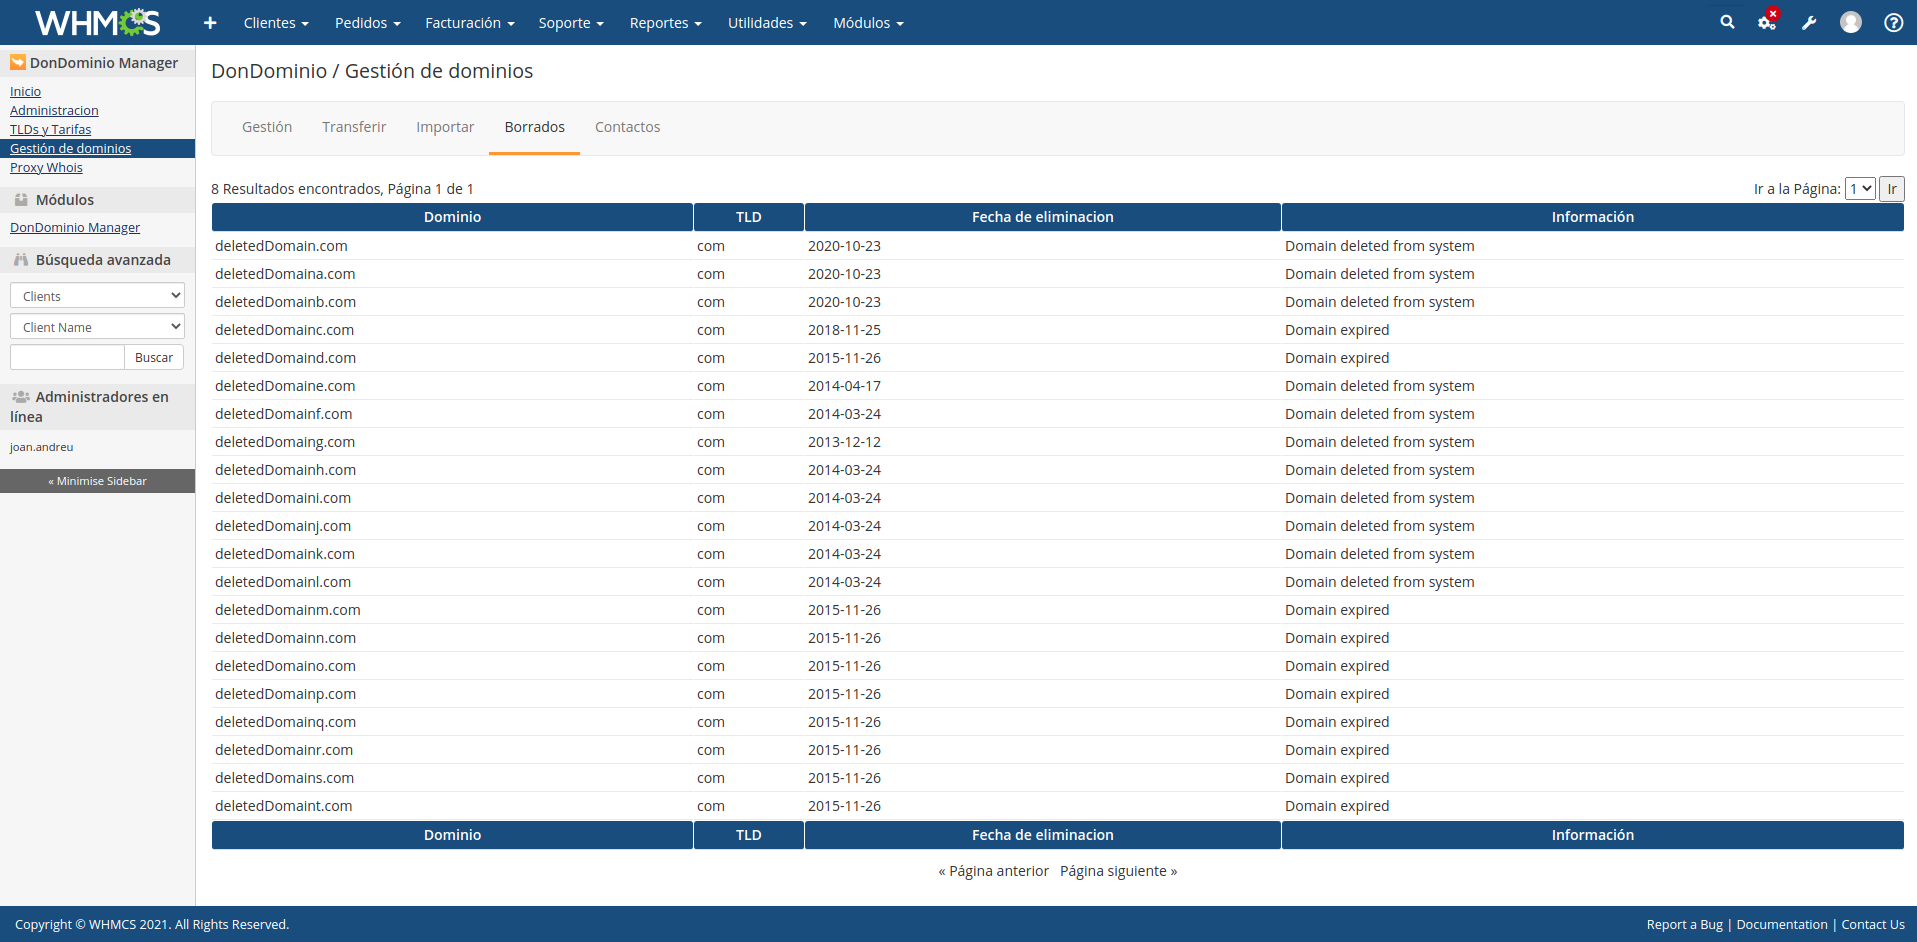
The Contacts module is found in the Manage domains section Manage domains > Contactos and allows us to list the contacts of the established API user.

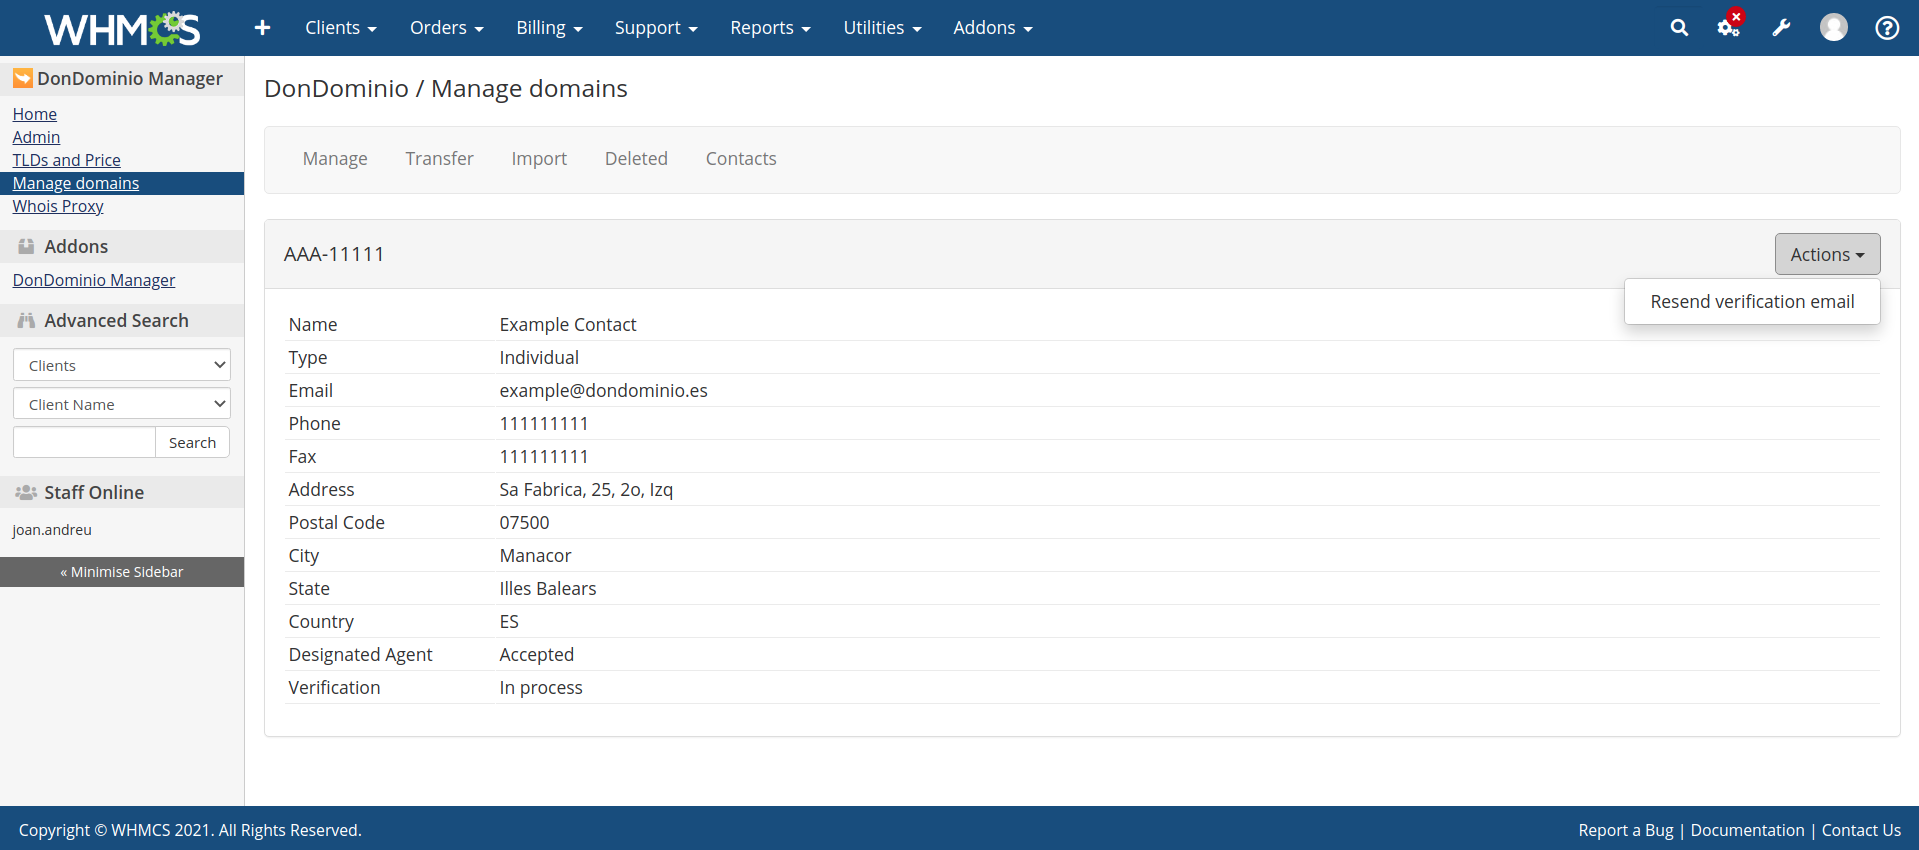
This module has filters to search for contacts in the list, it allows us to filter by the following fields: Name, Email, verification and Designated Agent.
From the Contacts list you can access a specific contact, this view offers more detailed information about the contact and the possibility of resending the verification email.
This feature is comprised of two parts that allow to set up a simple whois proxy locally to perform domain availability checks from WHMCS (also known as "Whois lookup").
The whois proxy can be configured either in the Whois Proxy section Whois Proxy > Configuration or in the Admin sectionAdministration > Configuration > Whois Proxy.
- WHMCS Domain: The domain where WHMCS is installed.
- Allowed IP address: List of allowed IP's to do WHOIS searches. Please, refer to Access control section.

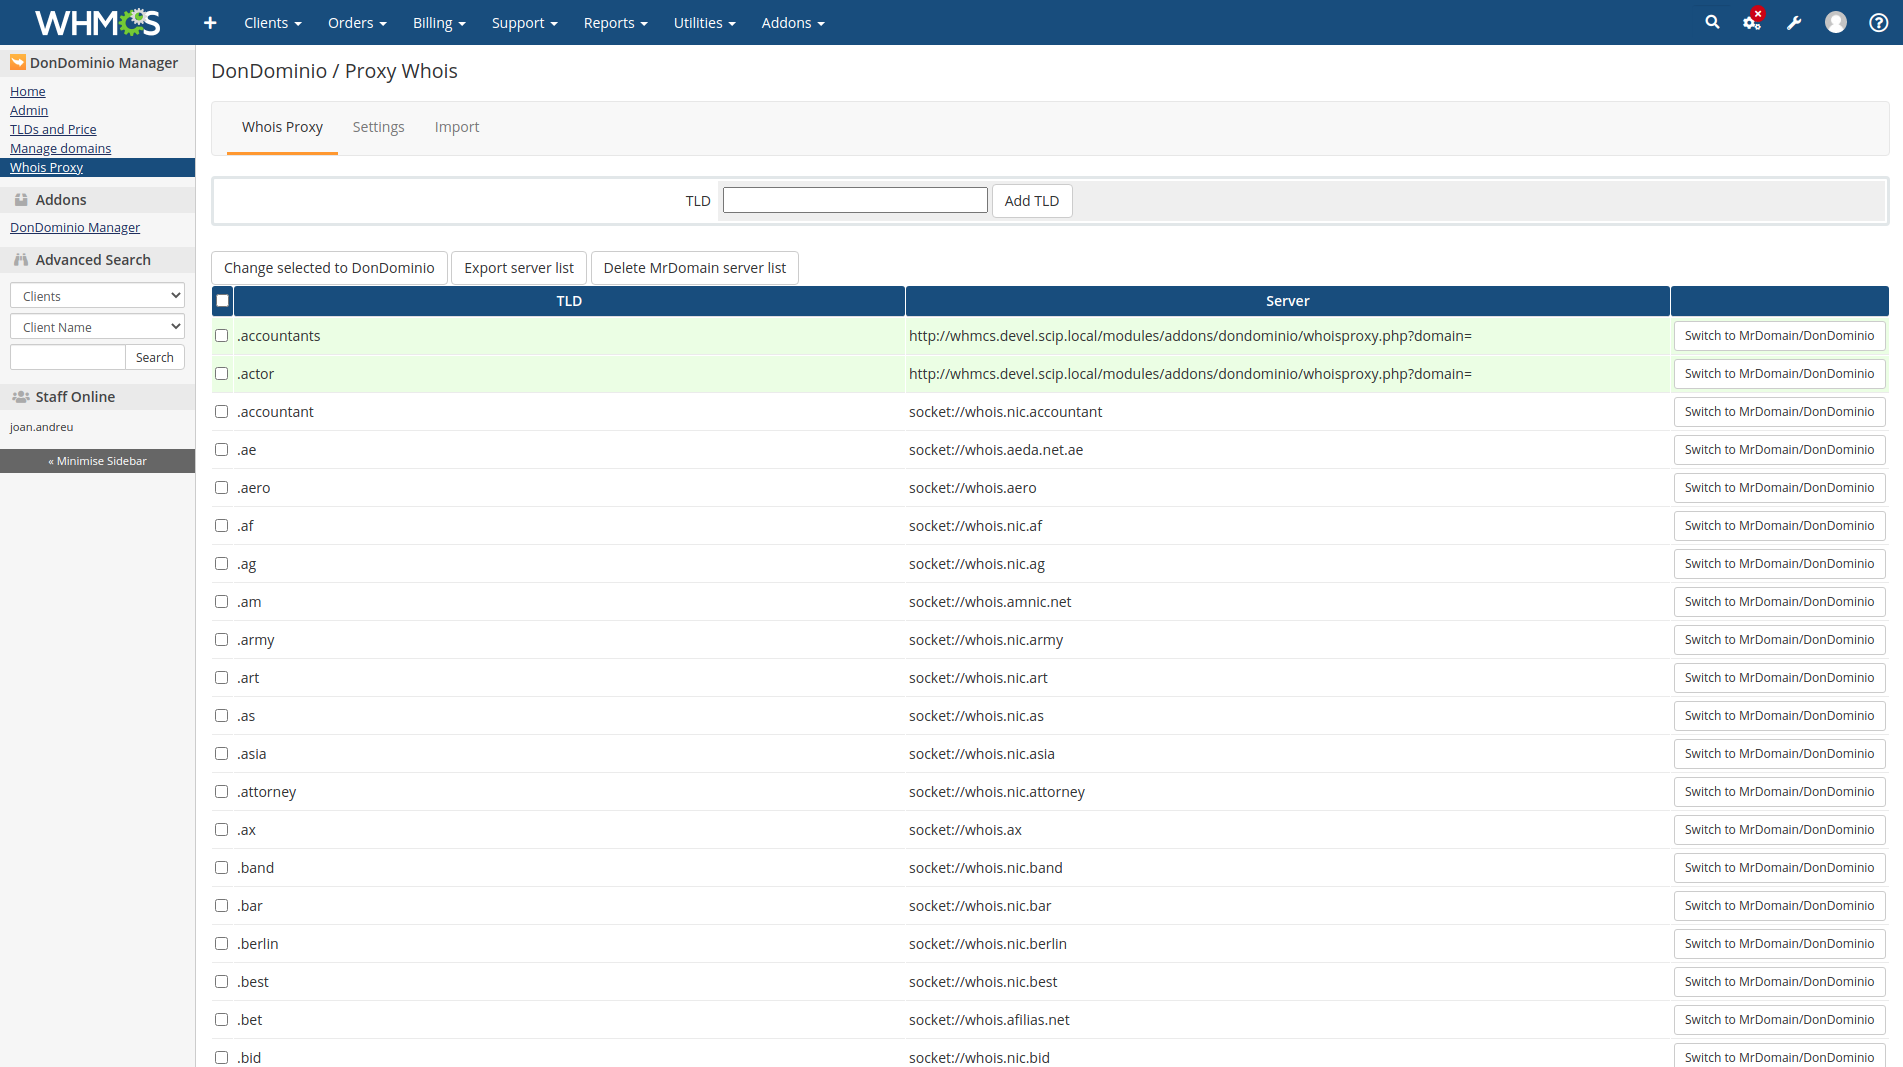
Finally, to configure every TLD to make use of the whois proxy, you should go to the left menu Whois Proxy.
Click the button Change to MrDomain (next image) to configure each TLD automatically. Your whois.json will be modified so WHMCS uses the MrDomain API
to check domains in those TLDs from that moment on. You don't need to make any other changes.
Permissions
If you see a message informing you that the
whois.jsonfile does not have writing permissions, you will need to change the permissions of this file to allow the web server to modify it. Otherwise, you'll need to change its contents manually.Access control
Due to the high demand that usually this kind of services have and the limited amount of API calls you can perform, it's recommended to restrict outside access to the proxy using the IP filters or another type of protection of your choice. Access theSettingssection of the addon and configure access control for the Whois Proxy before continuing.Backups The addon has a built-in import/export option designed to make backups of your whois server file file. We heavily recommend doing a backup of this file before making any changes. A bad configuration in this file may render WHMCS unable to perform domain availability checks for domain registrations and transfers. It's a good idea deleting old backups periodically.
The file in WHMCS 7 for whois servers is located at a JSON file. You'll find it in /path/to/whmcs/resources/domains/ with the name whois.json.
If you want to configure manually a whois server in this file, you'll need to find the correct entry for the TLD you want to modify and adjust it.
An entry looks like this in the file:
[
...
{
    "extensions": ".com,.net,.es,.com.es,.nom.es,.gob.es,.edu.es",
    "uri": "socket://whois.crsnic.net",
    "available": "No match for"
},
...
]
Adjust the "uri" and "available" fields, like this:
[
...
{
    "extensions": ".com,.net,.es,.com.es,.nom.es,.gob.es,.edu.es",
    "uri": "http://www.yourwhmcsdomain.com/modules/addons/dondominio/whois/whoisproxy.php?domain=",
    "available": "DDAVAILABLE"
},
...
]
Where http://www.yourwhmcsdomain.com/ is the domain to access your WHMCS frontend. You may
make this change on as many TLDs as you need.
To perform WHOIS searches you should go to the top menu Utilities > WHOIS Lookup.
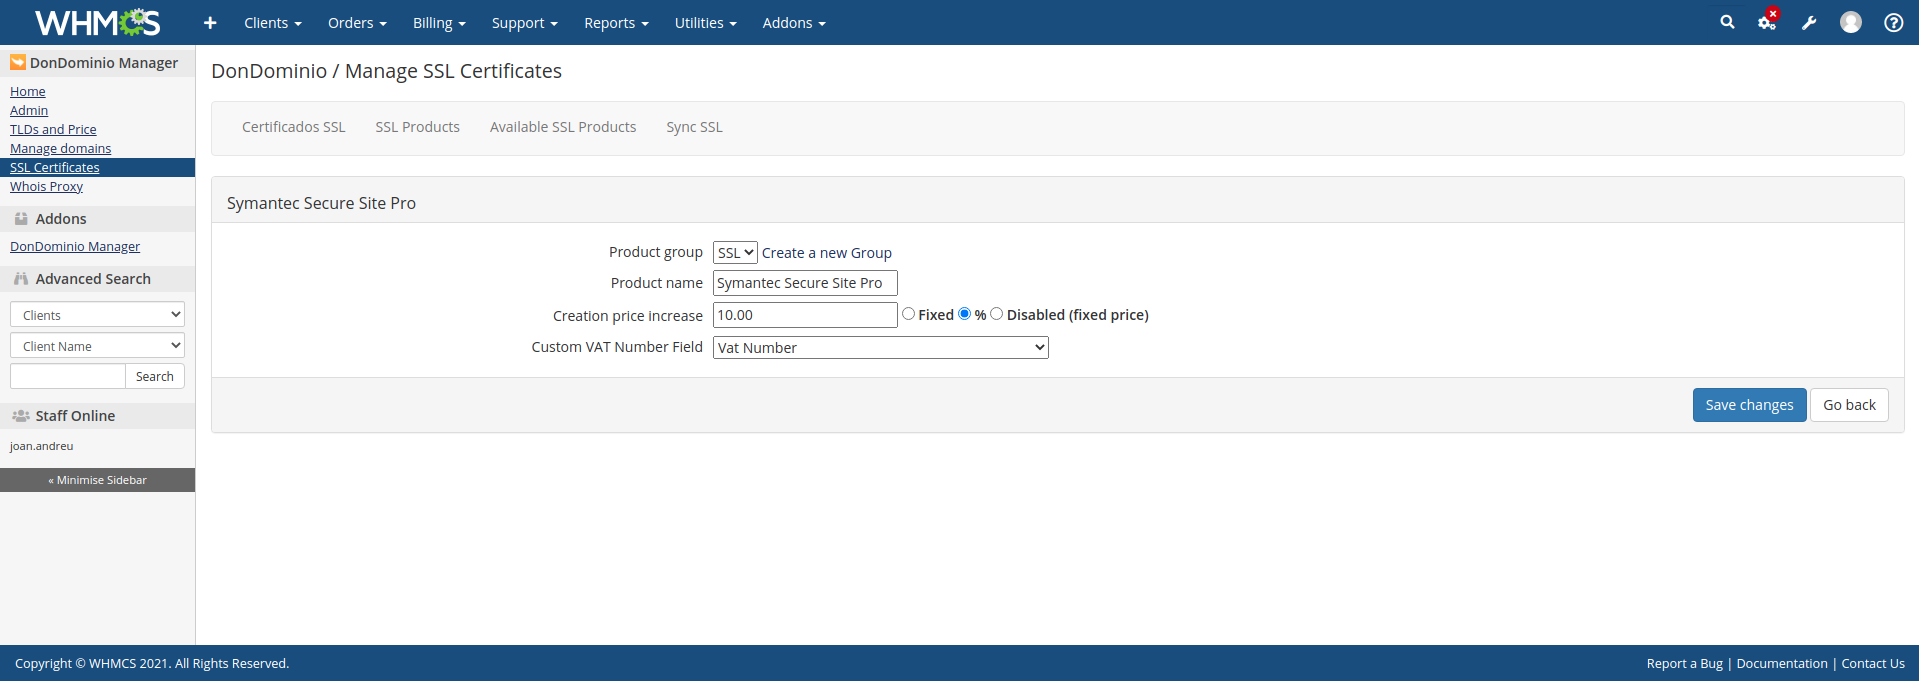
The module to manage SSL Certificates can be found on the main page of the Management Addon. You can see in the side menu a link to SSL Certificates. In this section you can see several tabs at the top to separate the different module's characteristics.
In this section you will be able to see a complete list of all the SSL Certificates you have in your MrDomain user account. In the case of SSL Certificates registered from WHCMS by your customers, you will also be able to see them in this list, along with a link to the order placed within WHMCS.
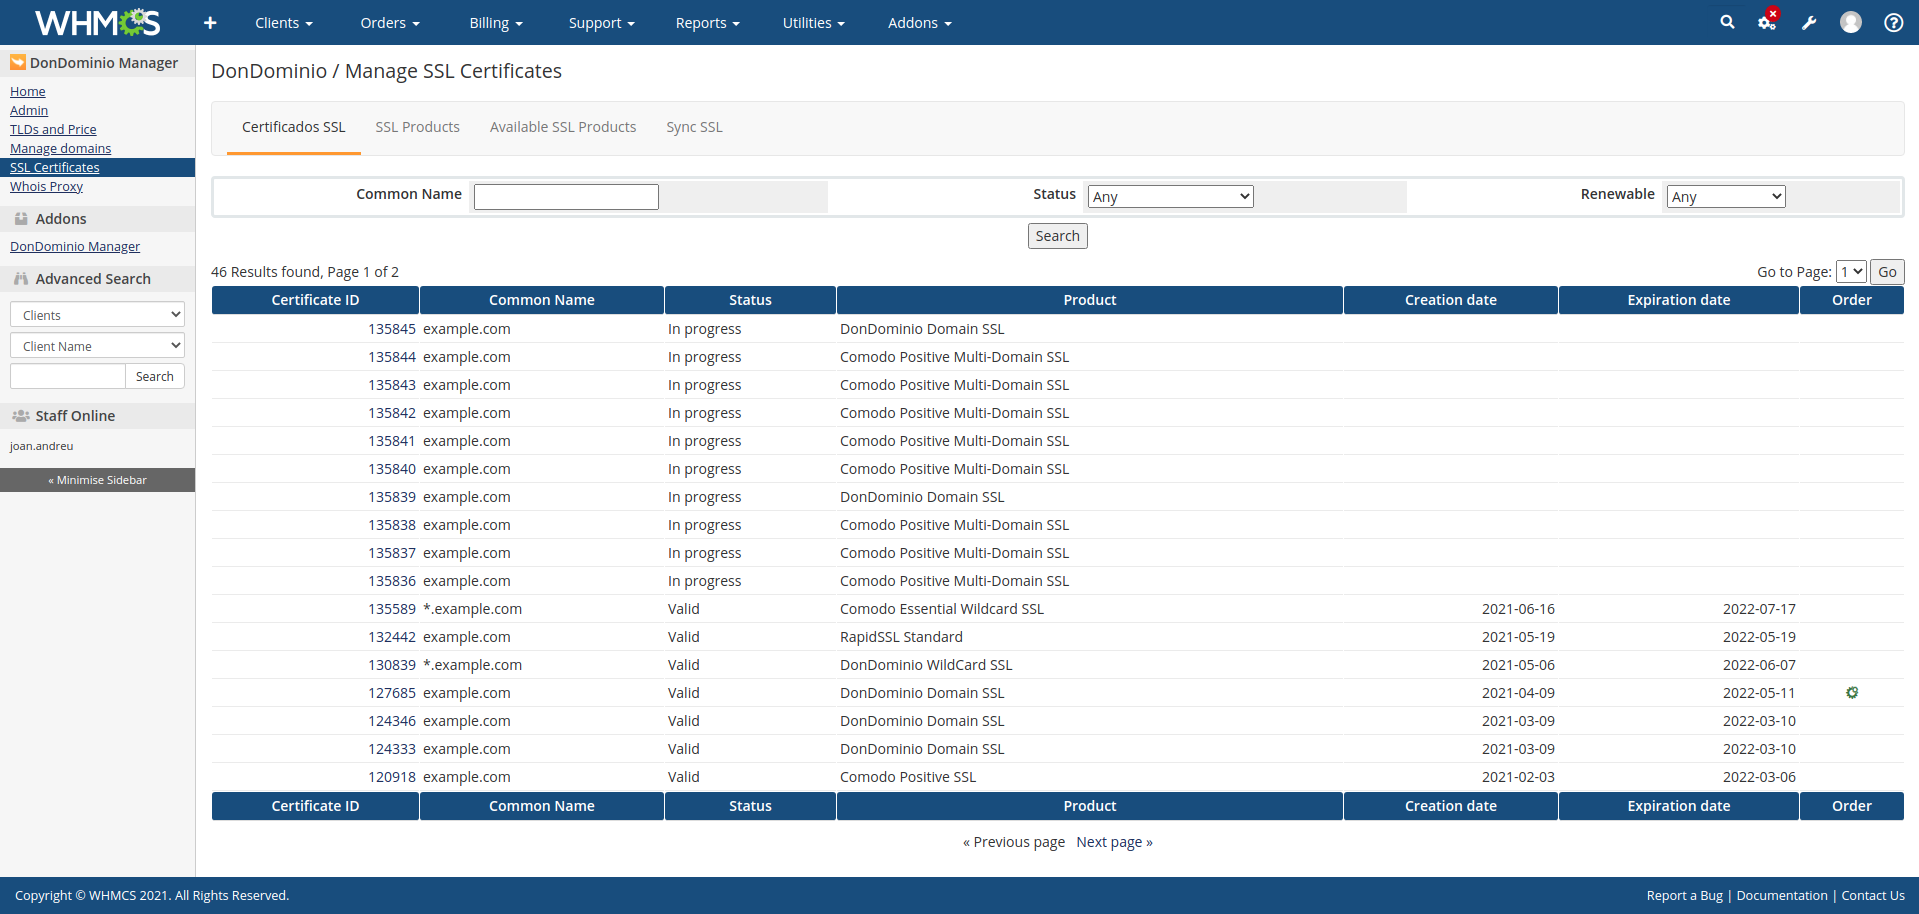
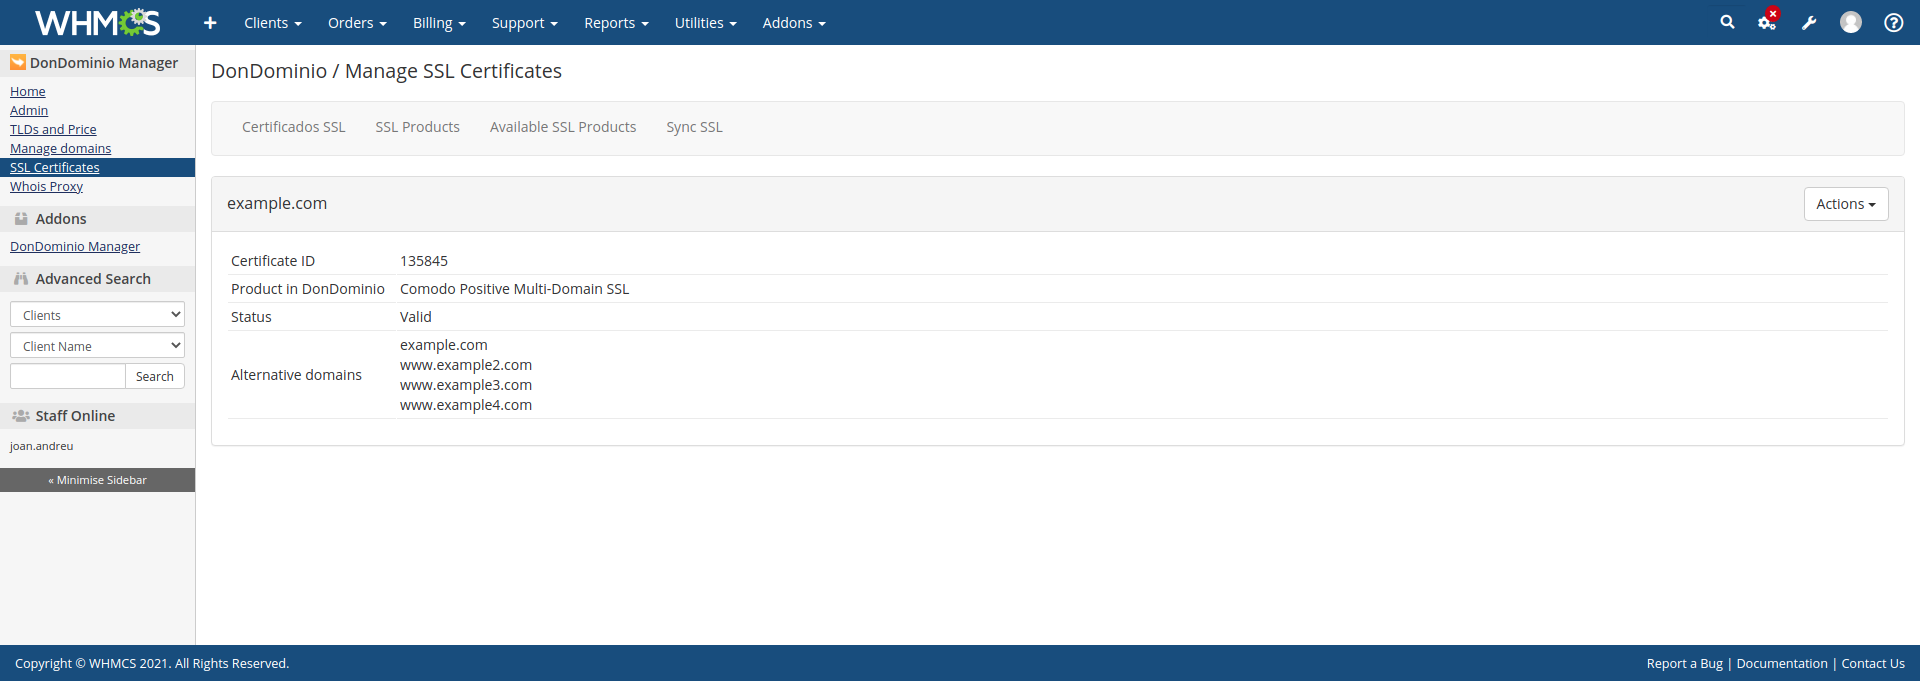
From the list, you can access a specific SSL Certificate to view its information and status. From this view you can perform actions on the certificate, such as reissuing, renewing, changing the validation method and resending the validation email.
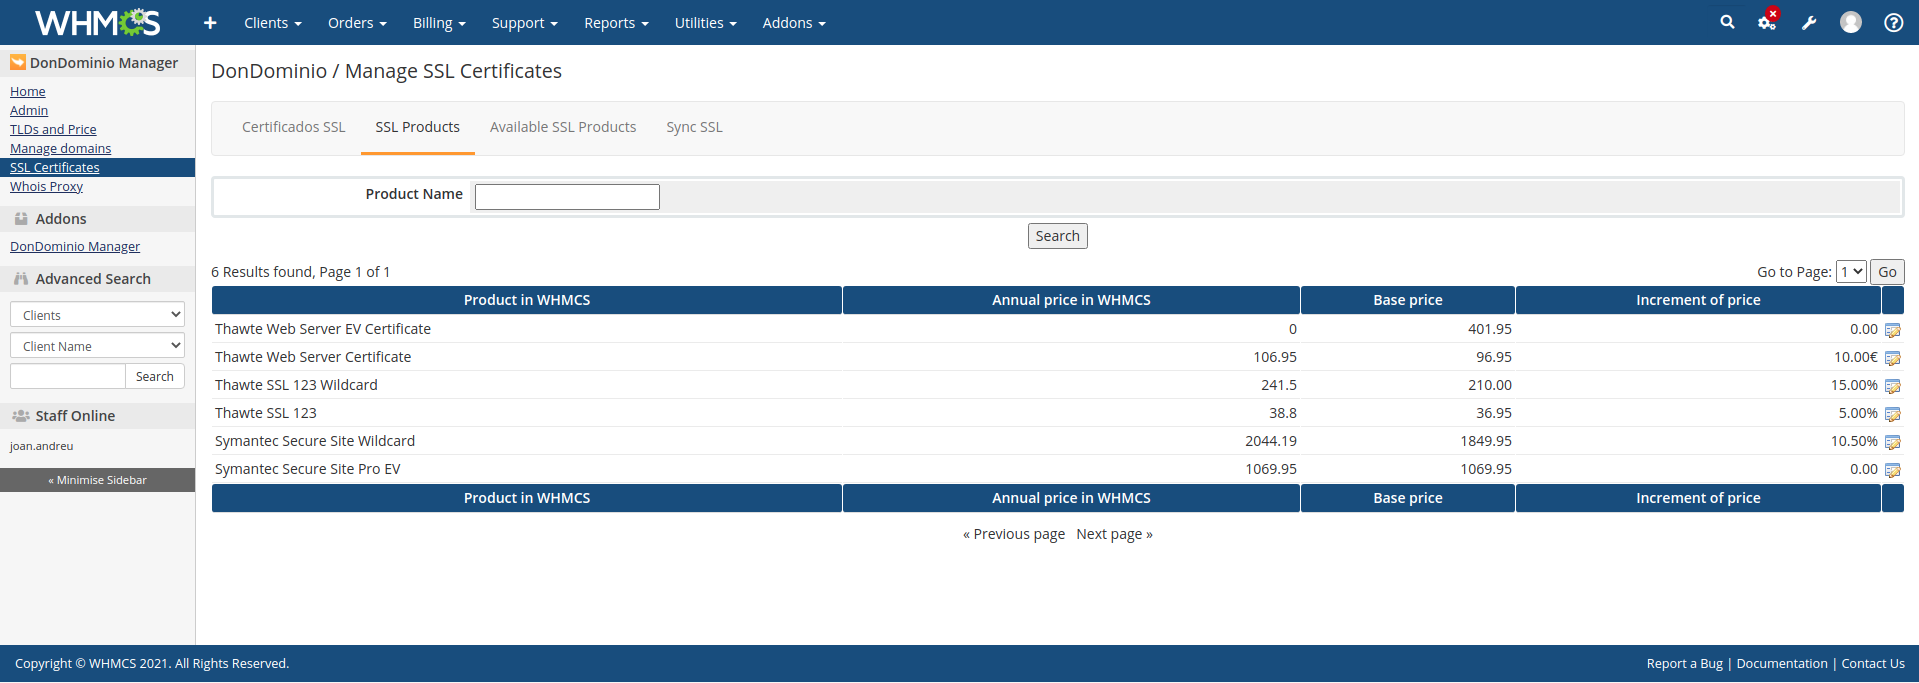
From this tab you will see all the SSL Certificate products that you have added from the Available SSL Products tab and you will be able to manage their configuration in the Product Edition section.
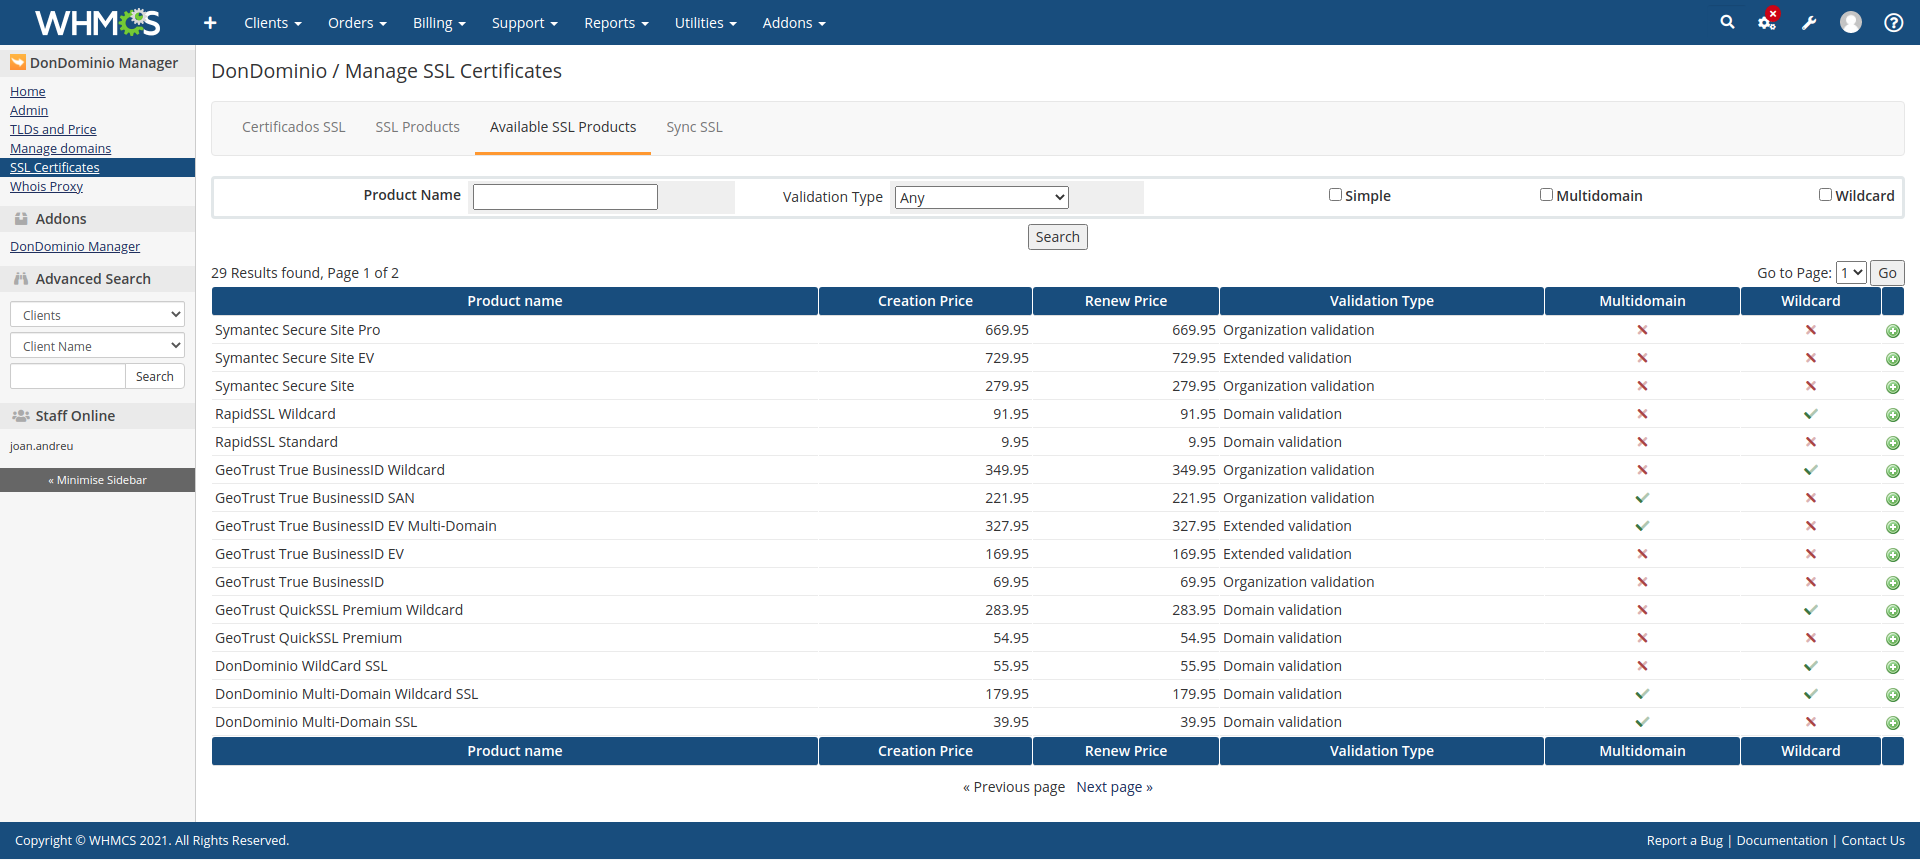
From this tab you will see all the SSL Certificate products available in MrDomain, by clicking on the icon ![]() you will access the Product Edition section where you can add these products as products in WHMCS.
you will access the Product Edition section where you can add these products as products in WHMCS.
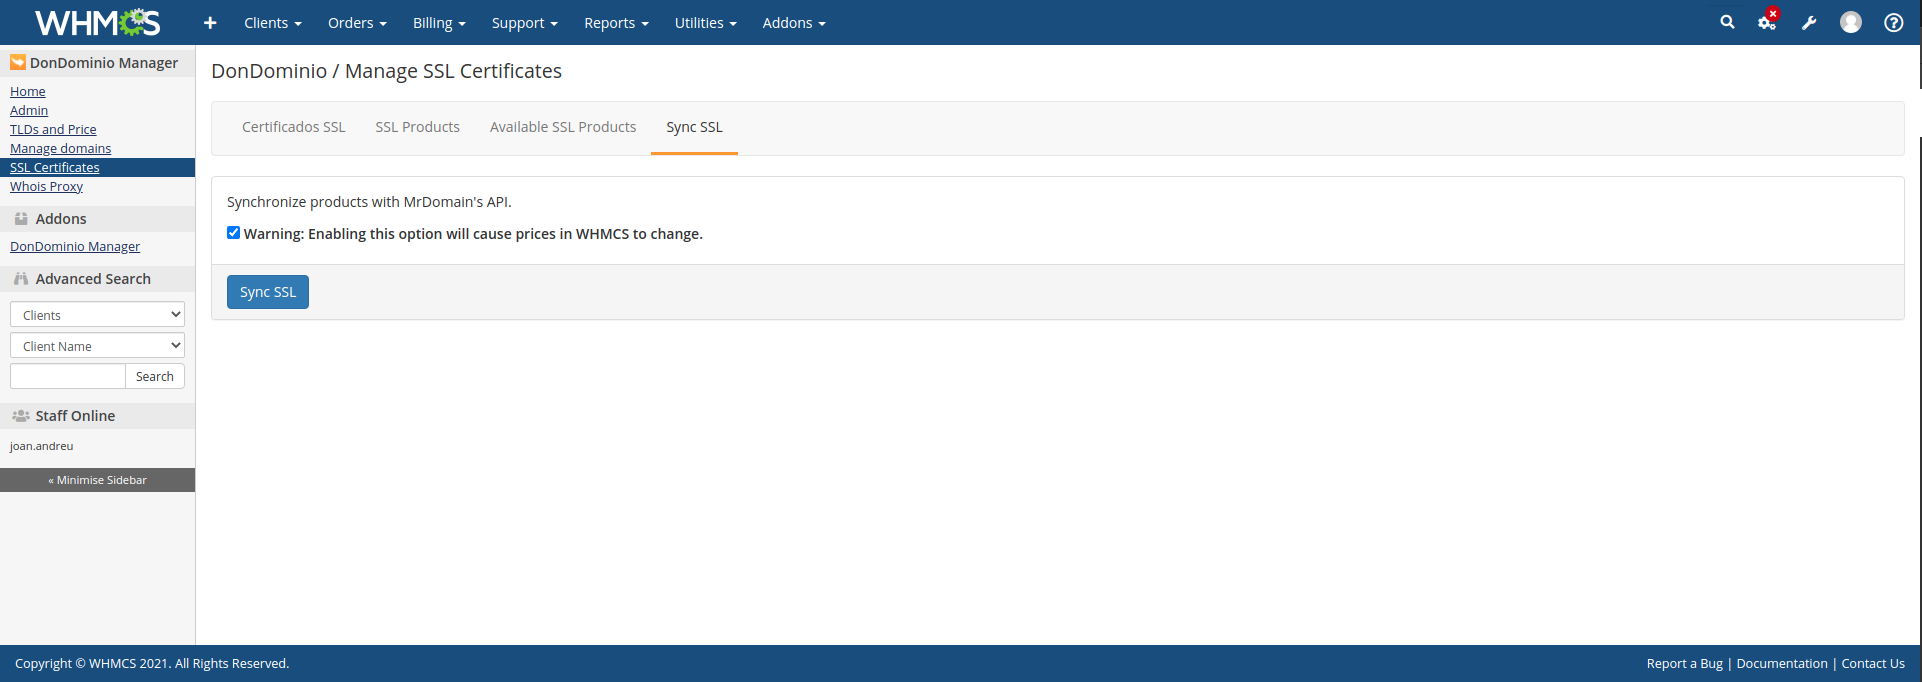
From this section you can force the synchronization of MrDomain products, being able to synchronize the prices of SSL Certificates with those of WHMCS. This synchronization occurs automatically daily.
In this section you will be able to create/edit a WHMCS product from an SSL product of MrDomain. You must choose the product group, the product name, its price increment and the customer's custom field that will be used as the Vat Number.
