User Manual for ClientExec Registrar Plugin
MrDomain
This is the user manual for MrDomain's Registrar Plugin for ClientExec.
This plugin adds the capability to register, transfer and renew domains from ClientExec using the MrDomain's API. It also adds capabilities to manage Nameservers and Domain Contacts directly from within ClientExec.
The plugin uses the MrDomain's API to work. You will need an active MrDomain's API account, with user and password, to make it work.
ClientExec is a registered trademark of ClientExec LLC. MrDomain isn't part nor is otherwise affiliated in any way with it. For more information on ClientExec software, visit their official website.
To install the plugin, download the ZIP file from our Github repository. Once downloaded, unzip it.
You should end up with a folder named dondominio. Copy this folder to your plugin directory on
your ClientExec installation, usually /path/to/clientexec/plugins/registrars/.
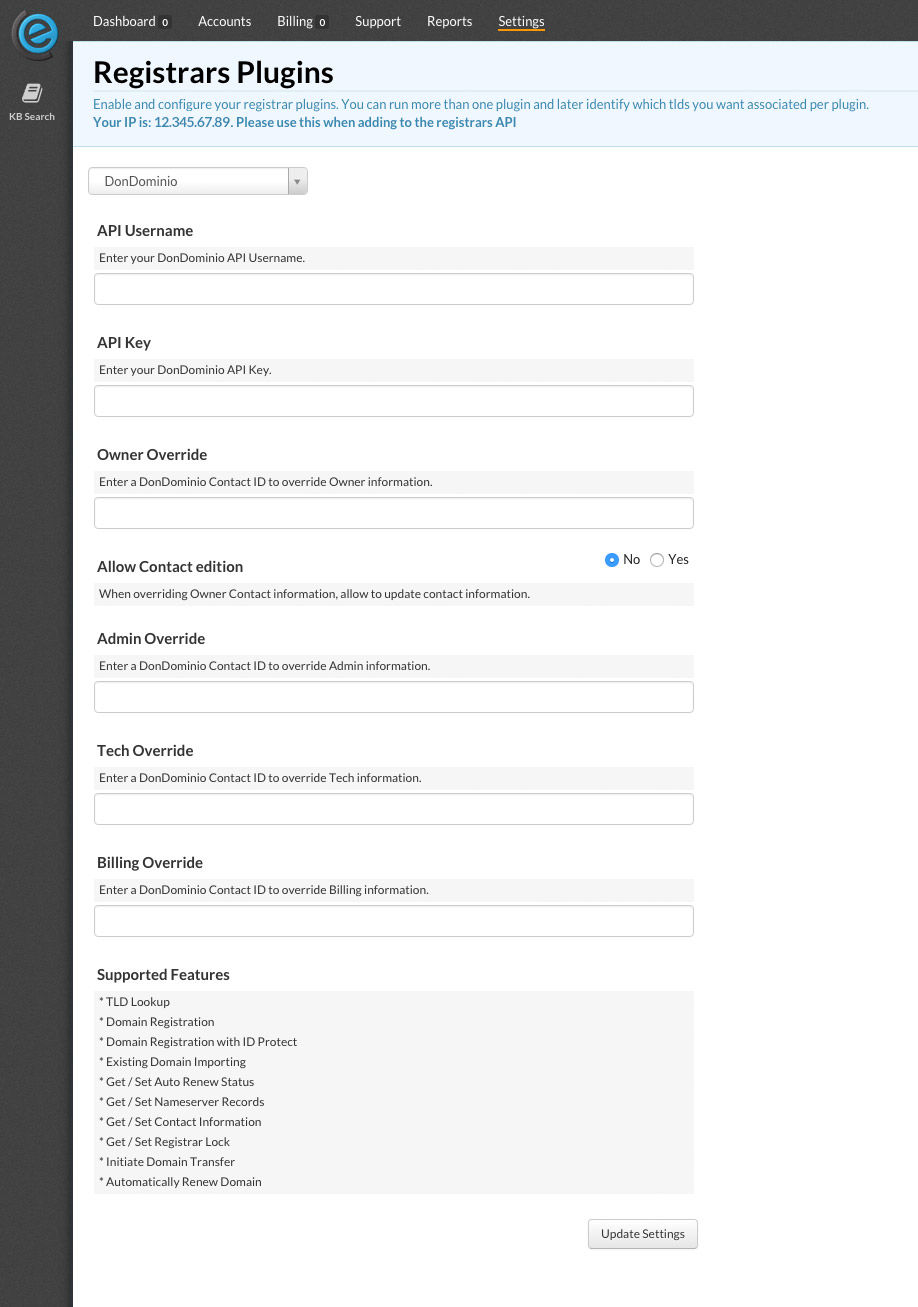
Once the folder is copied, access your administration panel on ClientExec and go to Settings >
Plugins > Registrars. On the dropdown, select DonDominio.
You'll see multiple options. Write your username and password for MrDomain's API on
API Username and API Key fields. Below these fields you'll find 5 more configuration fields.
You can use these fields to overwrite contact information provided by your customers. If you want
to let your customers modify this information later, check the corresponding checkboxes for each
field.
To use TLDs with MrDomain, you need to configure them to use the plugin. Go to Settings >
Products > Products. In this screen you'll find several options.
Click on the Domain Settings (Domain) dropdown and select Add new product. A new screen will
appear to create a new product under this group with the following options:
TLD: The TLD you want to configure (for example, .com)
Singup order: Leave the default values
Welcome E-Mail: (optional) Enable this option to send a "Welcome" E-Mail to your customers
When you're done entering the parameters for the new TLD, click on
![]() .
.
Once created, click on it from the product list under Domain Settings (Domain) to access more
settings. Click on ![]() and
then on
and
then on Registrar Plugin (Automatic Registration). Locate DonDominio on the list, select it,
and click on ![]() to confirm these settings.
to confirm these settings.
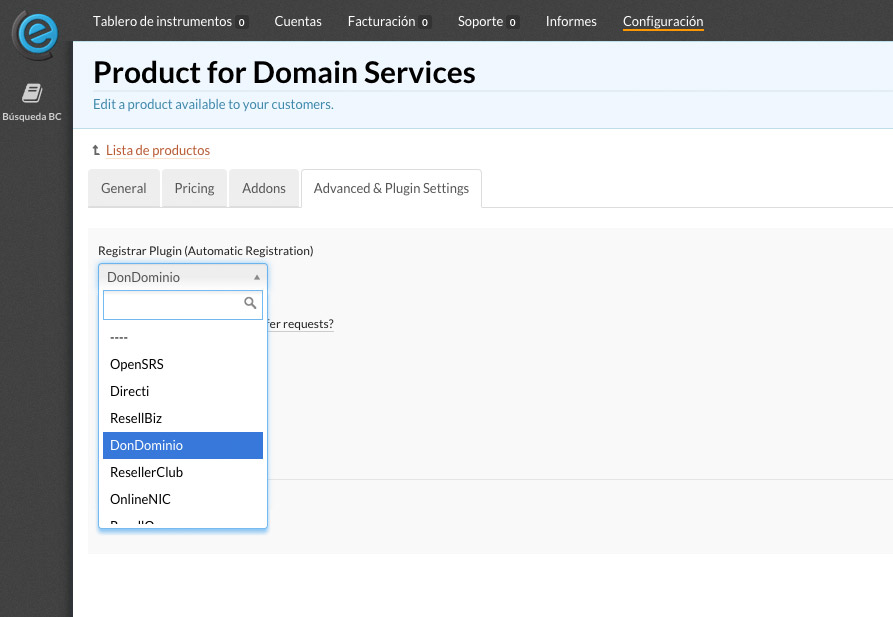
Click on any TLD unser the Domain Services (Domain) dropdown to edit its settings.
Click on ![]() and
then on
and
then on Registrar Plugin (Automatic Registration). Locate DonDominio on the list, select it,
and click on ![]() to confirm these settings.
to confirm these settings.
Now the TLD is ready to work with MrDomain.
Some TLDs require additional fields that are not included by default on ClientExec. To add these
fields just follow these indications: click on Settings > Products > Custom Fields, and then
on ![]() . Write the name of the field and click
on
. Write the name of the field and click
on ![]() , and then click again on the field's name to edit it.
Disable the
, and then click again on the field's name to edit it.
Disable the All Product Groups box and enable the Is Required box.
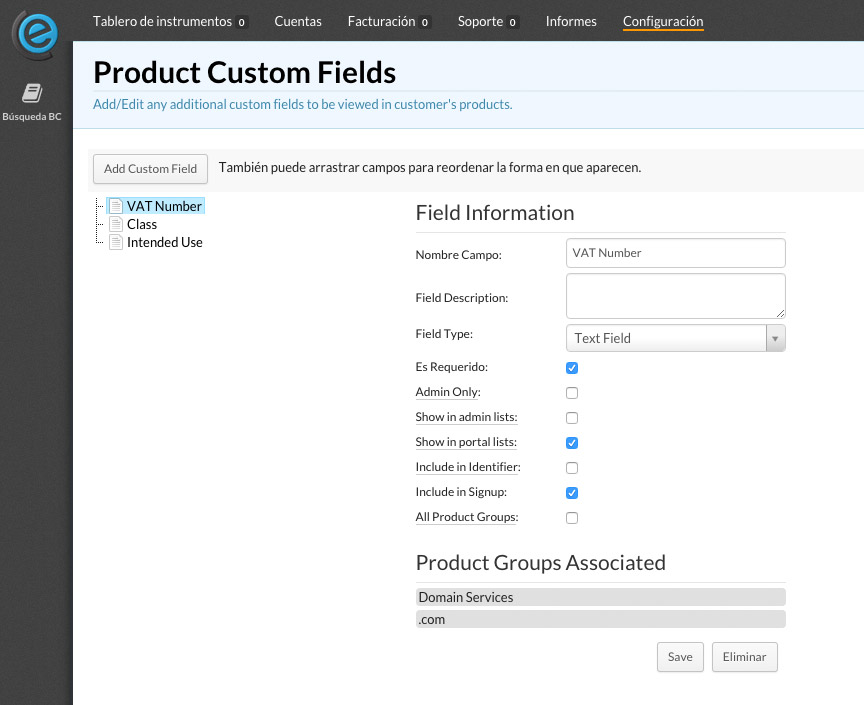
When you are finished editing the custom field, click on ![]() to apply the changes.
to apply the changes.
Depending on which TLDs are you going to support with MrDomain, you will need to add some fields for additional information for them. It's recommended to create a new group for each TLD.
The following table shows the necessary fields for each TLD:
| TLD | Fields | Type |
|---|---|---|
| .aero | Aero ID Aero Password |
Text Text |
| .cat .pl .eus .gal |
Intended Use | Text |
| .jobs | Registrant Website Admin Website Tech Website Billing Website |
Text Text Text Text |
| .lawyer .attorney .dentist .airforce .army .navy |
Contact Info | Text |
| .ltda | Authority License Number |
Text Text |
| .ru | Issuer Issue Date |
Text Text |
| .xxx | Class ID |
One of: default, membership, nonResolverText |
All of the fields are required, with the exception of Name, Email and ID for .xxx domains.
There are two fields that you need to add to the customer information in order for the plugin to
work properly: VAT Number and Date of Birth.
To add them, go to Settings > Users > Custom Fields and click on
![]() . Write the name of the field exactly as
. Write the name of the field exactly as
VAT Number and Date of Birth (one at a time) and check the Is Required and Include in Signup
boxes on the next screen. Additionally, for Date of Birth, select Date on the Field Type
dropdown. Click on ![]() when you're done, and the fields
will be added to your customers' information.
when you're done, and the fields
will be added to your customers' information.
To create a new product group and associate custom fields with it, go to Settings > Products >
Products. Click on ![]() to create a new
group, give it a name (for example,
to create a new
group, give it a name (for example, .com domains) and select Domain on the Type dropdown.
On the bottom part of this dialog screen, click on Custom Fields and select the fields you want
to use with this extension.
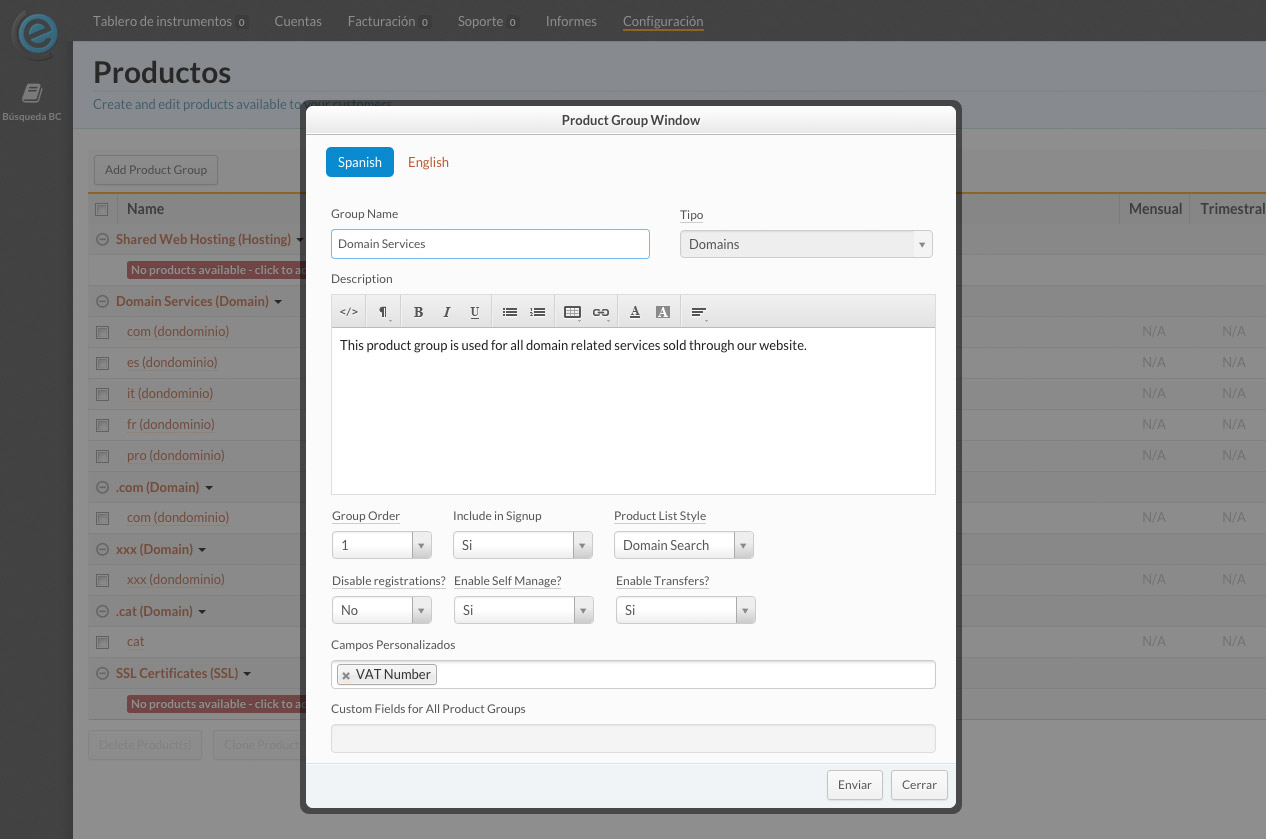
When you're done creating the new group, click on ![]() .
.
The chosen fields will appear when registering or transferring a domain with this extension.
In the event of an automatic process failing, it's possible to manually repeat the operation.
Click on the a domain on the domain list, and in the information screen click on
![]() and select
and select Register. The domain will be
attempted to be registered or transferred again.
ClientExec features a built-in domain importer. The ClientExec Registrar Plugin from MrDomain supports this feature.
Click on Settings > Utilities > Import data, and then, on the left tabs, on Registrar Domains.
Once the screen is loaded, click on the Select Registrar: dropdown, locate DonDominio in the
list and click on it.
A list containing all domains registered on your MrDomain account (that aren't on your ClientExec
database) will appear below this dropdown. You can select any amount of them from the list and then
click ![]() .
.
All the selected domains will be created in your ClientExec database. ClientExec will try to assign them to existing customers. If the customer isn't found on the ClientExec database, it will be created and then the domain assigned to it.