This is the user manual for the MrDomain's Registrar Plugin for WeFact.
This plugin adds the capability to WeFact to register, transfer and renew domains using the MrDomain's API. It also adds additional services like contact updating and managing, whois privacy and others.
The Registrar Plugin for WeFact uses the MrDomain's API. You need to have a working API account.
To activate the plugin you will need an API USername and API Password that you should have obtained from MrDomain's support team. For more information about the MrDomain's API, visit the online documentation.
WeFact is a registered trademark of WeFact B.V.. MrDomain isn't part or is otherwise affialiated to WeFact B.V.. You can get more information on WeFact Software on its official website.
To install the Addon, download the ZIP from our
Github repository. Once downloaded, unzip it
and you will end up with a folder named DonDominio. Upload the folder to your addons directory on
your WeFact installation, usually /path/to/wefact/backoffice/3rdparty/domain/.
Once uploaded to your server, access the WeFact backoffice and go to Settings > Modules. If
everything is correct, you will find and entry named DonDominio Registrar Plugin.

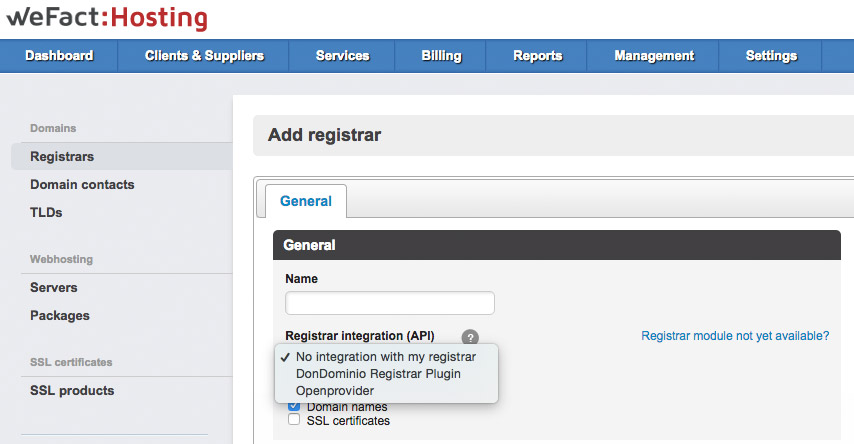
Go to Management > Services and click on `Registrars on the left menu.

Click on the ![]() button to access the
New Registrar screen.
button to access the
New Registrar screen.

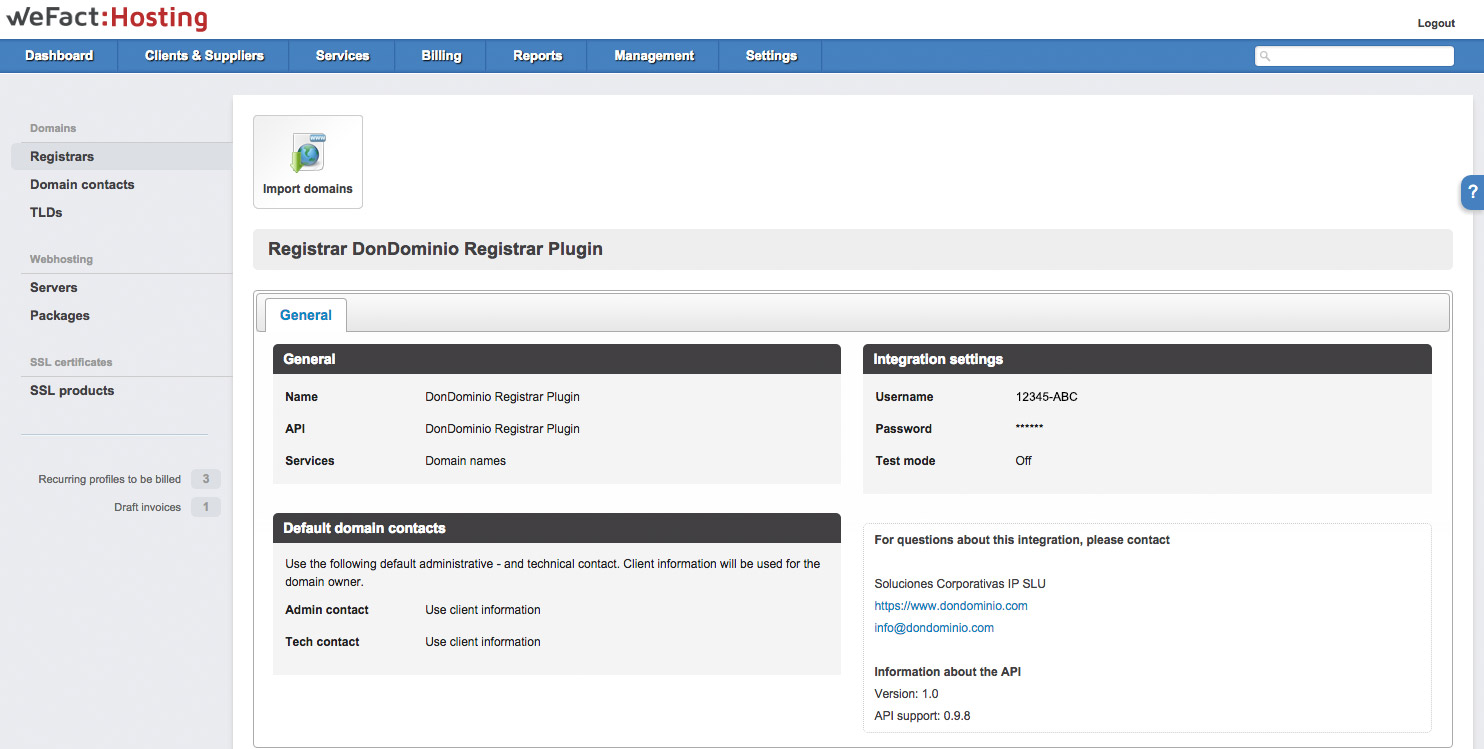
Enter the following information:
DonDominio Registrar PluginDomain namesUse client information)Press ![]() when finished to create the registrar.
when finished to create the registrar.
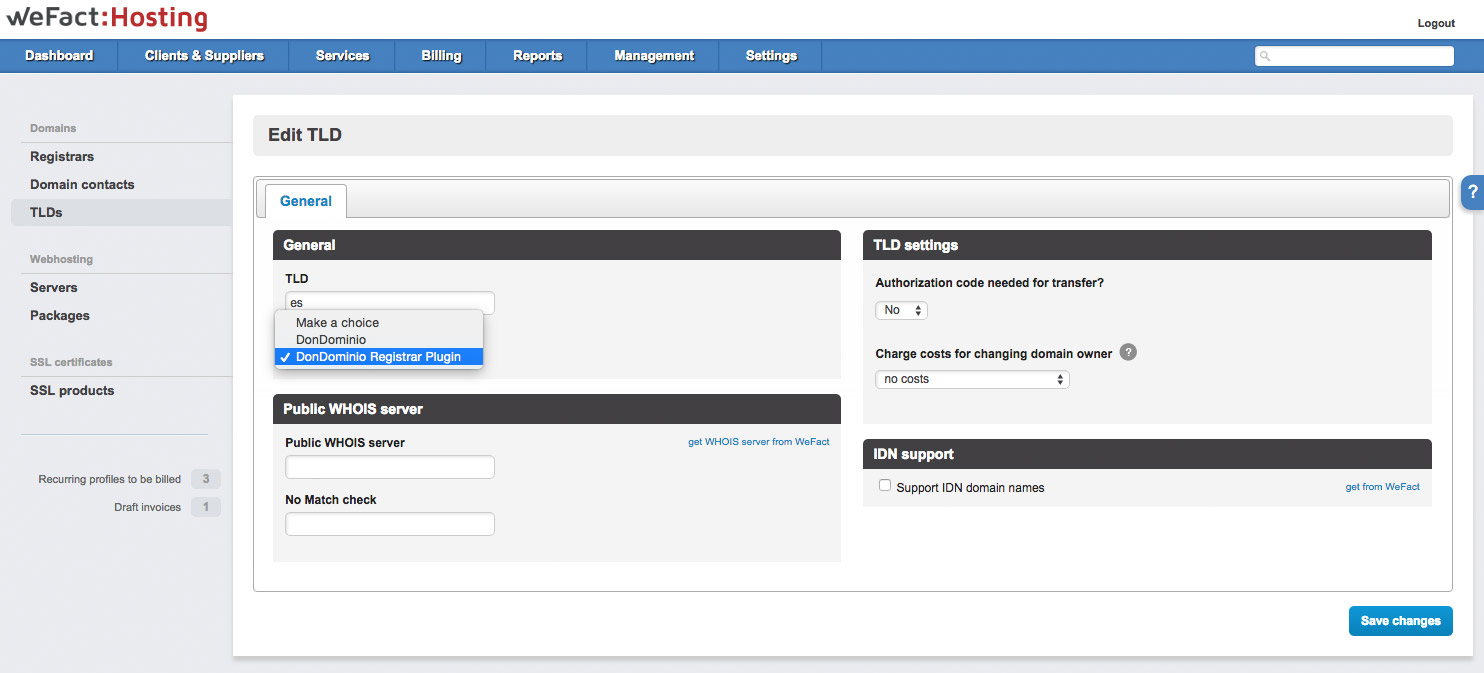
To use a plugin with a TLD, go to Management > Services and click on TLDs on the left.

Select an existing TLD from the list and click ![]() , or click on
, or click on
![]() to add a new one.
to add a new one.

One the edit screen, on the Registrar dropbox, select DonDominio Registrar Plugin. Fill the rest
of the information as usual.
When you are finished editing or creating the TLD, click on ![]() or
or ![]() to confirm your settings.
to confirm your settings.
The TLD is now ready to use the MrDomain's registrar plugin.
You will need to create additional fields in order for the module to properly work.
To create additional fields, go to Settings > WeFact Preferences and click on Own custom fields
on the left menu. Click on ![]() and enter the following
information:
and enter the following
information:
client and domain contactWhen you're done, click on ![]() to confirm your settings.
to confirm your settings.
At a minimum, you need to create the following field:
| Field Name | Field Code | Field Type |
|---|---|---|
| VAT Number | vatnumber | Text |
| Birth date | dateofbirth | Date |
Depending on the TLDs you want to support, you will need to create the following additional fields:
| TLD | Field name | Field Code | Field Type |
|---|---|---|---|
| .aero | Aero ID Aero Password |
aeroid aeropassword |
Text Text |
| .cat .pl .eus .gal |
Intended Use | intendeduse | Text |
| .jobs | Registrant Website Admin Website Tech Website Billing Website |
ownerwebsite adminwebsite techwebsite billingwebsite |
Text Text Text Text |
| .lawyer .attorney .dentist .airforce .army .navy |
Contact Info | contactinfo | Text |
| .ltda | Authority License Number |
authority license |
Text Text |
| .ru | Issuer Issue Date |
issuer issuerdate |
Text Text |
| .xxx | Class ID |
xxxclass xxxid |
One of: default, membership, nonResolverText |
For more information on required fields, check the API documentation.